Showing posts with label Troubleshooting. Show all posts

Thursday, July 6, 2017

Ultimaker 2 Go Disassembly and Reconstruction

Back in April, our Ultimaker 2 Go stopped extruding.  This is not unusual.  The standard procedure is to take a look at the extruder and maybe unload and reload the filament, checking for errors. Unfortunately, one of our students decided it would be a good idea to take the entire 3d printer apart. The student took apart the entire extruder and, in the process, broke the temperature sensor and the heater cartage.

the broken temperature sensor and the heater cartage
The Broken Temperature Sensor and the Heater Cartage

Despite our teacher's constant reminders to document, there was no documentation, except photos that were lost (the photos in this post were taken after the disassembly).  After disassembly, what used to be a 3d printer extruder looked like this: 

disassembled extruder
Disassembled Extruder

So, we were left to reassemble a broken 3D printer with very little documentation and no recollection of "what happened."  The Ultimakers came with an extra "Hot End Pack," which includes a temperature sensor, a nozzle block, and various other extruder related parts.  At first, we thought this would solve the problem. But ends up the pack did not come with a heater cartridge, so we were stuck. The Dynamism site (where we first ordered the printer) sold only a few, more consumable, parts--and not the parts that students might destroy. 

Luckily, Ultimaker support eventually clued us in to the fbrc8 Ultimaker warranty site. This was VERY helpful! We found a heater cartridge and ordered one.  

Back in the classroom, we replaced the broken temperature sensor with the one from the "Hot end pack" and the heater cartridge from the fbrc8 warranty site using this fbrc8 resource: Changing Heater Cartridge And Temp Sensor (2GO).  We had to open the bottom of the Ultimaker to plug the heater cartridge back in. It was good practice in reading the instructions very carefully!


Finally, for reassembly, we followed the Changing Parts In The Print Head steps for disassembly and reassembly, even though most of our parts were already... ahem... disassembled. We also used the instructions: hot end assembly | hot end disassembly

Eventually we reassembled everything and were proud of our efforts when it printed flawlessly once again!


- Reuben (8th grade)


Sunday, June 4, 2017

Screen Printing for Awareness

I Screen Printed onto old shirts to raise awareness for the LGBTQ+ and mental illness communities. I noticed that representation in the media of the LGBTQ+ community is sparse, and there is almost no representation of people who fight with mental illnesses. Seeing yourself represented in the media can change someone's outlook, make them feel hopeful, and can show them that they are not alone. Lack of representation can isolate groups of people and I wanted to combat this problem with creativity. At first I wanted to make a clothing line, however time and material constraints proved that to be unfeasible so I decided to try screen printing. I had never screen printed before, so I had to learn from Wikihow. I started out by coming up with phrases to ink onto the shirts, for instance “Dear Homophobes; Boo!”. DSC08469.jpg
(Image from the school Maker Faire taken by Ms.Mytko)

DSC08341.JPG
I tried cutting out the phrases, however this was challenging to do with scissors. I decided to try printing it out first, then using an exacto knife to trace the lines. This worked well but it still wasn't time efficient. I finally attempted to laser cut my design, this was not only time efficient but it was also a great learning experience. I cut old undershirts and screen printed my phrases onto them. This project costs around 45 dollars for the baseline materials but it can fluctuate significantly for the unnecessary materials.

I learned that it's okay for there to be small mistakes and sometimes those mistakes can improve the style of the shirt. I would enjoy marketing this into a business on Etsy, I will continue to screen print at home and I will possibly sell some shirts. If you are interested in this project make sure you set the ink into the shirt before you take off the screen, this will ensure better quality prints. Don’t give up when the ink smears, or doesn't come off, you can always go over your design with an ink dipped pencil. If you don't focus  on the mistakes, but rather on the quality parts of your print, you will end up a lot happier!


This is the Wikihow site that was incredibly helpful in teaching me how to screen print: http://www.wikihow.com/Make-a-Screen-Print#With_an_Embroidery_Hoop_sub

Friday, March 13, 2015

Our New Cube Take #4

Our new cube recently started malfunctioning again. We saw that filament was coming out at 1.52mm instead of something closer to .4mm. Luckily we still had our old Cube that we have yet to return (oops) - that one has a malfunctioning control board. Since the extruder on that old Cube still worked we thought why don't we try to replace our new cube's extruder.

We took this project to our after school 6th grade 3D printing club. Where we started, trying to figure out how to get the extruders off. As it turns out the extruder is only attached by 2 screws that we could easily take off. We took off both extruders 1 from each cube 2 and swapped them to create a FrankenCube. We tested it out and it worked.


Thursday, January 22, 2015

Don't forget the Cube Tube

Any Cube owners out there ever wonder about the reasoning behind the cube tube? It just adds a step to the printing process, right?


I would like to say that we made the conscious decision to experiment with removing the cube tube and printing, but in reality, I rushed through the routine task of changing the cartridge.  I thought I knew the process up-down-and-sideways, but I forgot an important step. The Cube tube. It turns out, that without the Cube tube, not only does the print fail, but you ruin a perfectly good filament cartridge. Oops.


The cartridge was not removed, but it no longer works. 

Tuesday, January 20, 2015

Ou New Cube (Take 3!)


Our Cube 3D printer recently started malfunctioning. The printer powered off mid-print, making an impressively loud noise as the build plate crashed back to the bottom. Dramatic, to say the least. I decided to troubleshoot the problem. The first step I took was to try and remove as many variables as possible. We plugged a light into the same power strip the cube was using, to check that the power strip wasn't failing. (Yeah, we could have just plugged it into a different strip, but...). Equipped with my smartphone and a slow-mo video function, we checked the power strip. Nope, not the problem. Then we tried a different file, a different USB stick, a different computer to cut files, everything related to file itself we could think of.  Also nope. We also tried just running the same file over and over and over and over in the hope something magical would happen, but it didn't. Remembering this  and this from earlier in the year, we emailed someone who worked at the Cube company.

Success! He emailed back, and said that it sounded like a motherboard fault. He even offered to replace the printer for free (this printer was originally free, as well)! Needless to say, we took him up on his offer.

Here is a picture of our new cube:


It's Blue!

- Jane (8th grade)

Thursday, October 23, 2014

Fixing the 3D Doodler

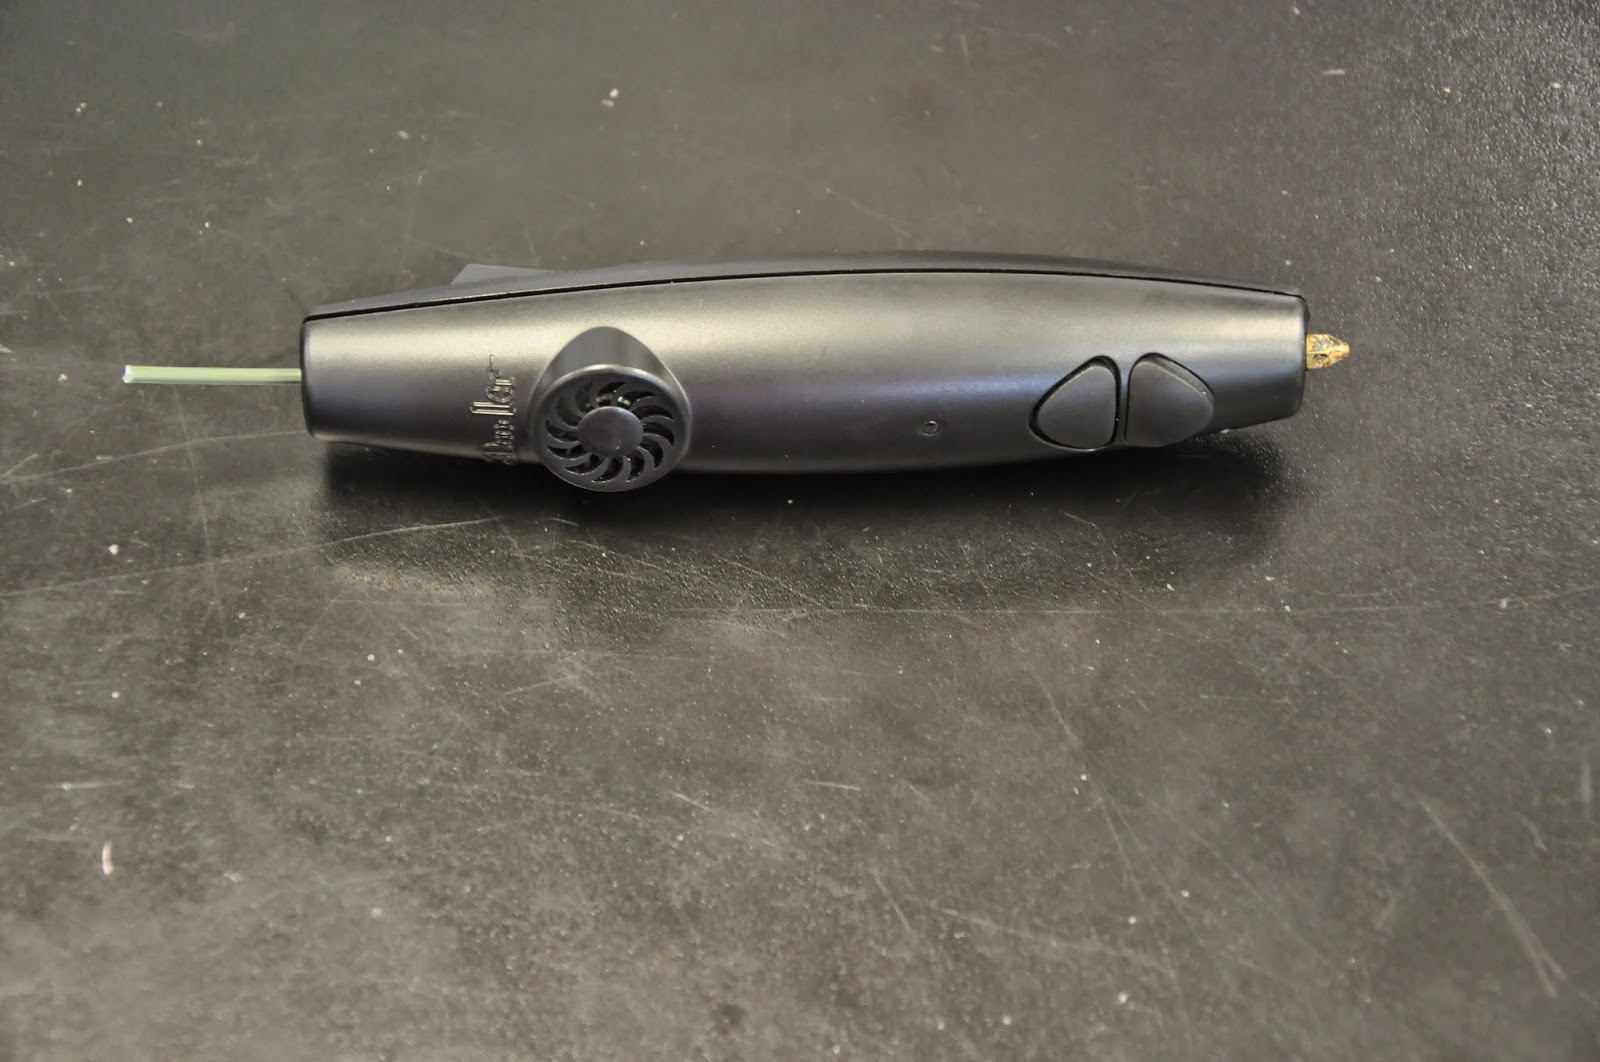
Ever since we got it a year ago, we have been fighting with our 3Doodler, a glue-gun like pen that allows you to "draw" in 3D by extruding plastic like a 3D printer does. To be fair, most of our problems stem from our use of a cheaper filament instead of buying it from WobbleWorks, the makers of the 3Doodler.  We are a maker club though. What do they expect? After all, our unofficial motto is "It still works..." (said in an indignant tone of voice).

[Teacher note: Or, maybe it's always broken because they are energetic middle school kids...]

Going back to the original point, we tried many tricks to try to fix our 3Doodler. They ranged from shoving a poke-thing up it, to holding it upside down and saying an incantation (it did improve the situation) and were affectionately termed juju-magic.

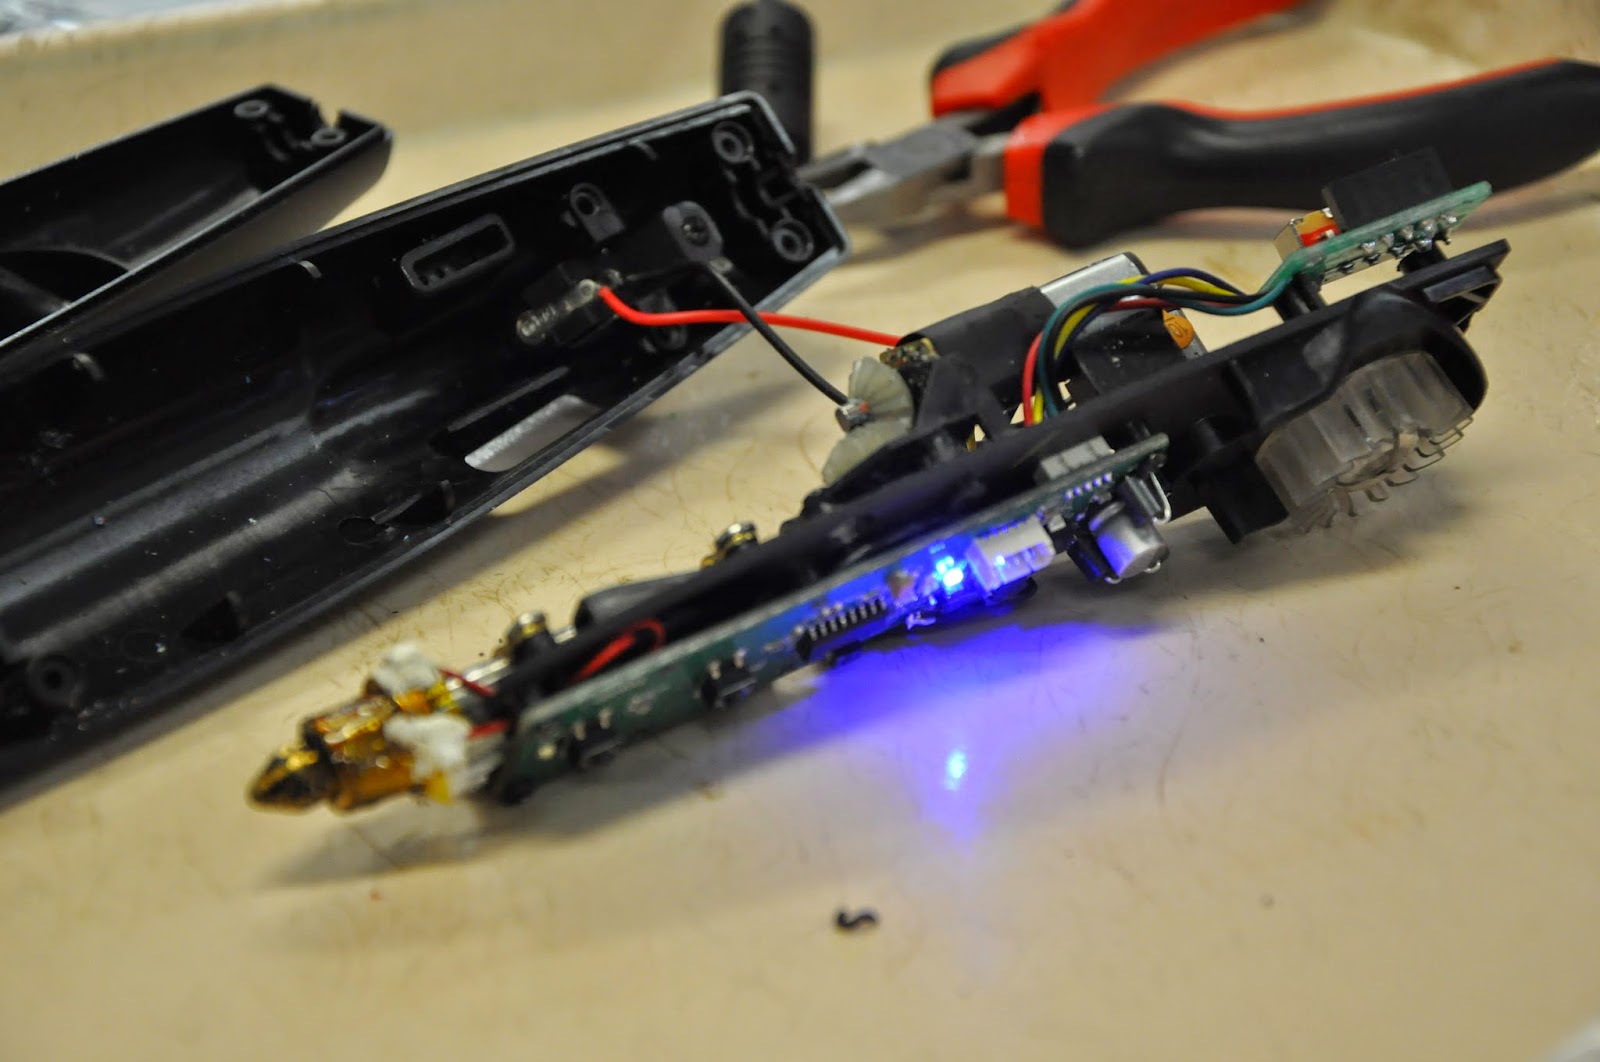
Then, while in desperation at the East Bay Mini Maker Fair I tried switching to using positive reinforcement while talking to the 3Doodler, I learned that earlier my friend had taken it apart as a project to try and fix it (see pics below).  He told me that when our filament, curved from the spools it comes on, was shoved in our 3Doodler (it wasn't my fault...) it over time bent the internal tubing.


Because of this our filament was catching as it went in, frequently jamming. We had the idea of bending the filament to straighten it, thus decreasing the chance of it catching on the bent inside of the tube. With this small modification, and despite the bent inside of the tube, our 3Doodler runs perfectly.

Now the moral of this is either just pay the money and it will work, take apart your expensive stuff, communication is key, or always tweak. I personally prefer the last one and I know many of my fellow BPC makers prefer the second, but for some reason a few of my fellow students prefer the third.

- Daniel, 8th grade


Saturday, September 20, 2014

Matter and Form Meets Middle School

This is what our Matter and Form scanner looks like right now:


Here's what it is supposed to look like: 

https://matterandform.net/
Yes, we took it apart.... 

(Note: We really don't recommend doing this.  Nor do the folks at Matter and Form recommend doing this.  In fact, had we not brought it crashing to the ground, dislodging the plate from where it belongs and sending it scattering across the floor, we would have much preferred to have a functional scanner without pipe cleaners! Kids, always get your parent's [or teacher's] permission before taking things apart.)


Of course, our teacher was a little worried about voiding the warranty, but I am pretty sure we voided the warranty when a kid accidentally got his foot wrapped in its power cord and pulled the entire thing to the ground. 

As of yesterday, we hadn't quite gotten our scanner working yet, but we've gotten some OK scans from it. But remember, this is a middle school. We were working on it, but we had it out on the edge of a table. Then... oops.

The scanner did not break it as much as we thought, which is a credit to the construction of the scanner. What the fall did do, however, was dislodge the disk on top of the scanner, so we tried to put the disk back. Then we had to take it apart, because the disk doesn't fit back in from the top.  We had to take the scanner apart and attach the disk from the underside.  (Did we mention that it was all greasy to promote turning?!)


This worked, except we didn't get the motor aligned with the disk.  Well, we didn't really realize the gears needed to align between the motor and the disk.

Then we tried to take it apart again. This time, we broke off some bearing holders inside.  After complimenting its construction, it seems we had found its weakest link!  These tiny pieces of plastic poked up and supported three metal bearings.  Oops.

Not so much of a credit to the scanner, but multiple deconstructions by middle schoolers was probably not a problem that they were anticipating. We came up with a high-tech solution to the broken parts - pipe cleaners. We put pipe cleaners where the holders were, like this:


High tech operation going on here. Here's another pic of the underside of the disk, with our pipe cleaner bearing holders.


We had to take it apart once more, (that's three times if you're counting), because we didn't screw in the back properly. In order to screw it back into the base, we'd have to remove the disk from the top.  Which is what started this entire mess in the first place!  [Teacher's Note: reminds me of this.]  We think that it was originally assembled by a machine, so we can't actually put it back together properly. It does scan, though, it just doesn't have all the casing on.

So now it looks like this: 


We are running a scan as we type this.  So far, so good. 

So, it is working, but... these are all the parts that used to be in the scanner, but aren't right now....
And, just because why not, here is a scan of the Matter and Form scanner taken with our Structure Sensor using Skanect!


Friday, September 19, 2014

Sunday, April 27, 2014

A Tale of Two Extruders: Delrin Plunger Upgrade Kit

The Delrin plungers on our Replicator Dual were wearing out and therefore making the filament slip and jam. So we could not print anything effectively on the Replicator. So some maintenance was needed.

An upgraded extruder is available and it was being used on some of the newer printers. Turns out, Makerbot already admitted that its extruders are kinda weak.  In fact, right on their website Makerbot says, "another thing that can cause extrusion trouble is the deterioration of the Delrin plunger inside the Stepstruder."  Makerbot is offering a FREE upgrade for the cost of shipping... for the Replicator 2, but not for the Replicator Dual.

We found our Replicator I replacement part on ebay, and Amazon.  If we were less lazy, we could print one out on Thingiverse.

To replace the Delrin plunger follow this tutorial.  To start, we had to take apart the extruders.
Sam and Abe taking apart the Makerbot
At one point, our teacher had to take deep breaths, thinking we might not ever get it back together. 

This was taken is the maker bot with one of the extrudes.
Then replacing the old black Delrin plunger with the new, 3D printed, gray one.
Here is a picture of the old plunger (left) and the new (right.)
Then it printed!!!
This was the first filament it extruded
The first full print

You can read more about the upgraded extruder here.

- by Abe (7th grade)

Lesson Learned


Actually, two lessons. 

The first lesson:  The computer can't shut down while a print is running. So, if the settings on the computer go to sleep after, say, 1 hour, and the print runs for 2 hours, you'll end up with half a print. 

Lesson two: In a middle school classroom, the computer setting are not the only thing that shuts down the computer. Actually, there are 25 things. 24 of which are students. Someone shut the lid on the computer running our printer, so we ended up with half of a (very lengthy) print. The low-tech solution in the picture above works pretty well so far. 

By Jane (7th grade)

Sunday, December 8, 2013

3D Printer #4 (Our new Cube - Take 2) - Limit Failure and Filament Flow Fail

As you may have read in our previous post, our school was lucky enough to have a Cube 3D printer donated to us by 3D Systems two months ago.  I let the kids set it up (after all, they've set up my last three 3D printers!) and they were not able to get it to work.  So much for "straight-out-of-the-box" printing. :/  The printer was making a terrible noise, and we weren't sure what to make of it.  After combing the Cubify blogs and forums, and rewatching the (pretty great) set-up tutorials, we were at a loss.
Eventually, we contacted 3D Systems and sent them a video of the problem, and they replaced the machine.  The paperwork on the box indicated a "limit failure" which I have not yet seen detailed anywhere on the web.

With this second machine, I watched the kids like a hawk and, as promised, it was up and printing in a matter of minutes.  As for the limit failure, I understand that sometimes these things happen.


Once the machine was up and running, there are some definite pros.  
  • The machine is E.A.S.Y. to run.  You hardly have to deal with leveling the plate, or setting the gap. Once you hit the button; it has just worked.  No tangled filament, or random air prints.
  • The print quality is great.
  • The support material is brilliantly minimal, therefore leaving little residual marks on your print.
  • The touchscreen instructions are very clear and you can be printing with little to no 3D printer experience in minutes!
  • It looks great, very sleek and compact.

However, we came across a few cons:
  • You are locked in to using Cube cartridges for filament.  (3D Systems did generously give us four kid-friendly colors to get started.)
  • The machine is not intended for tinkering, and therefore it is very hard to come up with solutions to problems when you are discouraged from taking it all apart and investigating.

We also came across some features that were different and will take a little getting used to:
  • The build plate is magnetic - it just snaps in place.
  • You need to apply special 3D Systems glue to the build plate before using - so there are no rafts - but there have been no issues with curling either.
  • In order to remove your final print, you need to submerge the print + build plate in water, until the object loosens up and can be pulled off the plate.  (In case you are wondering, a 30 oz Safeway O Organics animal cracker container conveniently happens to fit the build plate perfectly!)

We got a couple great prints from the machine.


And then...

Filament Flow Fail #1:  After swapping out the neon green filament, we got the error message "Filament Flow Fail" on the touchscreen.

So we did a little research and read over a post on how to fix a Filament Flow Fail.  The blog post makes this sound like no big deal, ending the post with a flourish: "Run one small test print to ensure the Cube is happy, and, voila. Filament Flow Fail is solved!"  Well, it didn't go down like that for us.  


We heated, and poked, but no bits of filament were coming out.  Every day someone would go over and try and fix it, to no avail.  Then, one morning, it just worked.  Strange.  We didn't ask too many questions, and got on to printing.


All was well through our next filament change, where the student forgot to thread the filament through the Cube Tube.  In this case, the filament would soon get stretched at an awkward angle, and likely snap.  So we aborted the print and (not surprisingly) the filament snapped.  (Around the web, there are a lot of complaints (see comments) about the integrity of the Cube filament.  It definitely has a different feel than that from, say, Inventables.)  There was perhaps a millimeter sticking up from the PrintJet and we intended to catch it with tweezers, but as the nozzle heated up, it pulled the tiny end of the filament beyond our grasp.

Thus initiating... 

Filament Flow Fail #2:  No error message this time.  The broken piece would not melt out using the described methods and new filament would routinely get stripped upon re-insertion, indicating a persisting problem.  (The image below shows the stripping from Filament Flow Fail #1.)


Heating and poking wasn't working this time.  We found this other post was much more realistic & included this excellent diagram of the mythical insides of the PrintJet. (By this point, one kid had taken apart the broken Cube's PrintJet to study it.  I made them hold off on taking apart the functional Cube.) 
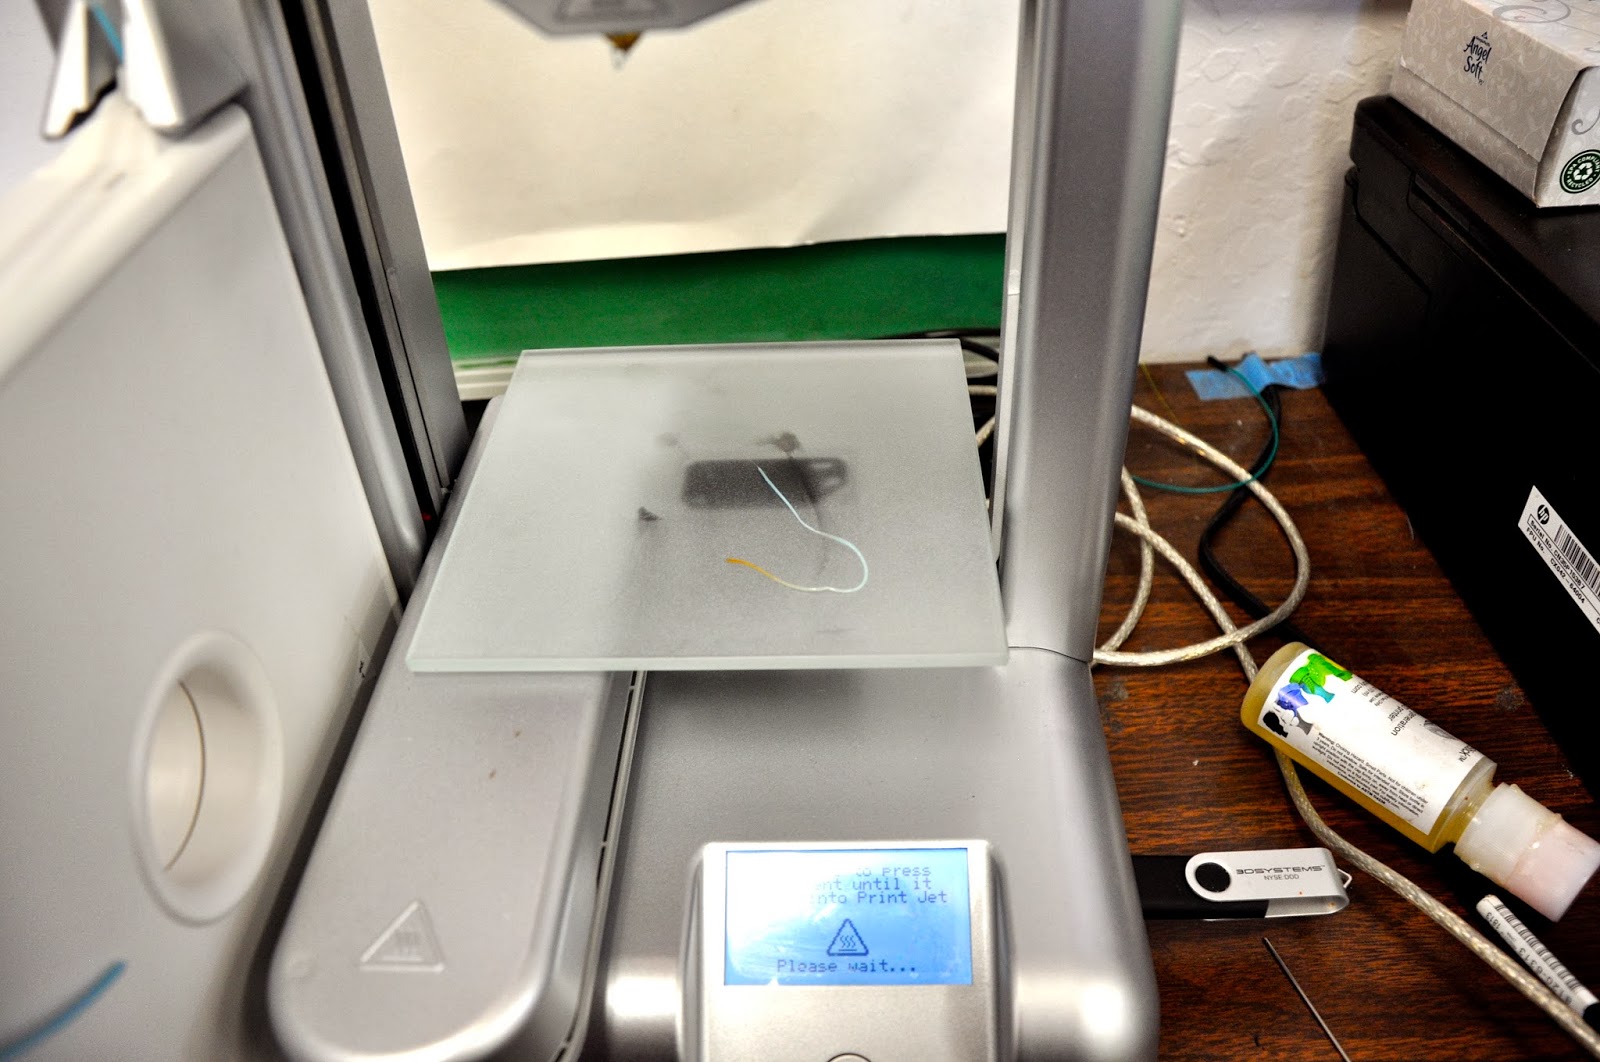
Then, yesterday, when the kids weren't around, *I* took apart the functional Cube, since this was getting ridiculous.  Not only was the filament not coming out, but the nozzle was not even heating up when the screen indicated.  (I am pretty sure I voided whatever warranty doing this, but you know the Maker creed.) The issue was quickly apparent.  If you look right in the middle there (you can click on the image to zoom in), you can see  a tiny blue piece of filament jammed in below the gears.  Without the gears being able to engage, the filament wouldn't move.  Without the nozzle heating, there was no chance of it melting anyway.


In the illustration below, I have modified the the aforementioned blog author's excellent diagram to illustrate our problem more clearly.  I discovered that not only was the piece of filament below the gears, but it was also leaning off to one side. In the left image, you can see how the poking tool would easily push a typical broken filament down and out of the nozzle, but on the image on the right, you can see that, in our case, the poking tool was not making full contact with the filament and was ineffectually pushing the filament piece sideways.


Using a fine tweezers, I wrestled the filament back into an upright position, and watched from the side to learn the best angle of attack.  After screwing everything back into place and engaging the "loading cartridge" event, the nozzle heated!  This time, the tool was effective and after some initial pressure a big string of filament burst out of the nozzle.  Looking closely, the end of the expelled filament was burned and of a different consistency. Sort of reminded me of a bear plug.  (I know, I know, that's gross, but thats what you get for having a life science teacher writing this blog!) 


After the "filament plug" was expelled, the remainder of the filament was easily pushed out and the new filament was loaded as expected.


So now the Cube is back in action.  This entire ordeal inspired continued discussion among the students around open source versus closed hardware and software.  I think the expected thing to do in this case was to call the company, and they probably would have replaced the PrintJet, or perhaps the machine.  But just by looking inside, we were able to diagnose and solve our own problems.