Sunday, May 4, 2014

Students Use 3D Printing as a Tool for their Science Fair Projects

Four our (non-competitive) school science fair, I give my students a lot of freedom in choosing a topic that is personally interesting to them.  Many groups choose to do a traditional controlled experiment, but I always allow for more engineering-type projects as well.  This year, we had 4 (out of 31) projects organically incorporate a 3D printer as a tool in their projects.


Here are their project abstracts:


Experiment Title: What is the strongest type of beam?

Abstract :   We conducted an experiment to determine the strongest shape of beam with the same cross sectional area. We first designing the beams in Solidworks, making sure that they all had the same cross-sectional area, then we had them 3D printed. Then we took two clamps, clamped one of the beams to the piece of wood and put weight on the beam. We found that the I-beam was the strongest by 4.23mm per kilogram. This is true because the I-beam has the highest moment of inertia, a measurement of how much of the area is farthest away from the central axis. Engineers use I-beams all the time to create stronger, cheaper buildings.
Click here to download the STL's from their project.

Experiment Title: Building a LibraryBox: Our Very Own Private Portable Digital Distribution System

Abstract: We (Eli M. and Alex B.) attempted to build a LibraryBox. A LibraryBox is a digital file distribution system originally designed by Jason Griffey, who based it on a previous concept called the PirateBox. It has an advantage over conventional cloud storage systems (such as Google Drive) because it is usable in areas that do not have access to the Internet. Devices in the general area of the Box can connect to it and download various files from it, such as music or documents. We also designed and 3D printed a case for our LibraryBox using Tinkercad. We successfully designed the case, but the fate of the Box remains to be seen.


Experiment Title: The 3D Ice Cream Ball 

Abstract: We used a 3D printer to make a 3D printed ice cream ball, which would hopefully be able to actually make good ice cream. We tried to use a lot of different ways to get a good print of the ice cream ball. We used a Kinect to try to take a good scan of the ice cream ball. It failed because the Kinect couldn’t get most of the angles, so it ended up with lots of holes. Then we tried to use Tinkercad, but we couldn’t get an amazing product. We used 123D next. We had to take lots of pictures to get a scan. We didn’t like it again, so we knew that we had to go back to Tinkercad. We worked on making the ice cream ball able to be printed out. Our first scan didn’t go super well because one side was thinner than the other. Then we ran out of time to make a different scan.  The importance of our project is to create a cheaper way to make ice cream if you already have a 3D printer & a lot of free time. 


Experiment Title: 3D Printed Quadcopter

Abstract: We tried to make a 3D printed quadcopter with Arduino. We haven’t gotten the quadcopter to fly yet, but we are hopeful.  We printed all the parts successfully after quite a few failures and delays.  We used 3 different printers, including the printer at the ALS (a government facility). The Arduino code and Aeroquad software wasn’t working correctly because the versions of each software weren’t compatible, which gave us a whole host of problems to solve. Learning about this is important to science and 3D printing because it shows how easily things are to customize and print with 3D printers.

Friday, May 2, 2014

Experimenting with the Proprietary Cube Cartridges

We tried hacking a cube cartridge. We first cut off the top then we hammered the cartridge. We broke the entire cartridge into 5 parts they are as followed: Plastic cases, microchip, Cardboard spool, and filament. 
Then we hacked the Cube by putting the microchip on the cube. The Cube thinks there is a cartridge in it when their is only an microchip.  


- Sam (7th grade)


Osteiod: an improved 3D cast!


You might recall hearing about Cortex.  Cortex is a new 3-D printed cast that is water resistant and is customizable for each person. Cortex takes a 3-D scan and an x-ray of the broken hand or other body part. Then they create a 3-D model of the cast and 3-D print it. Each cast is customizable because it is 3-D printed. Their casts are very open and light. They are also, small and less noticeable than their plaster cousins.  I imagine that people could request different colors of the cast once the idea takes off.

Well just recently Deniz Karasahin designed a new version that adds a new feature an ultrasound system. The ultrasound system helps heal bones up to 80% faster. 

Picture and research from http://www.3dprinterworld.com/article/3d-printed-exoskeleton-could-replace-traditional-casts http://www.theverge.com/2014/4/18/5628818/3d-printed-cast-concept-uses-ultrasound-to-heal-broken-bones https://www.adesignaward.com/design.php?ID=34151

Sunday, April 27, 2014

A Tale of Two Extruders: Delrin Plunger Upgrade Kit

The Delrin plungers on our Replicator Dual were wearing out and therefore making the filament slip and jam. So we could not print anything effectively on the Replicator. So some maintenance was needed.

An upgraded extruder is available and it was being used on some of the newer printers. Turns out, Makerbot already admitted that its extruders are kinda weak.  In fact, right on their website Makerbot says, "another thing that can cause extrusion trouble is the deterioration of the Delrin plunger inside the Stepstruder."  Makerbot is offering a FREE upgrade for the cost of shipping... for the Replicator 2, but not for the Replicator Dual.

We found our Replicator I replacement part on ebay, and Amazon.  If we were less lazy, we could print one out on Thingiverse.

To replace the Delrin plunger follow this tutorial.  To start, we had to take apart the extruders.
Sam and Abe taking apart the Makerbot
At one point, our teacher had to take deep breaths, thinking we might not ever get it back together. 

This was taken is the maker bot with one of the extrudes.
Then replacing the old black Delrin plunger with the new, 3D printed, gray one.
Here is a picture of the old plunger (left) and the new (right.)
Then it printed!!!
This was the first filament it extruded
The first full print

You can read more about the upgraded extruder here.

- by Abe (7th grade)

Lesson Learned


Actually, two lessons. 

The first lesson:  The computer can't shut down while a print is running. So, if the settings on the computer go to sleep after, say, 1 hour, and the print runs for 2 hours, you'll end up with half a print. 

Lesson two: In a middle school classroom, the computer setting are not the only thing that shuts down the computer. Actually, there are 25 things. 24 of which are students. Someone shut the lid on the computer running our printer, so we ended up with half of a (very lengthy) print. The low-tech solution in the picture above works pretty well so far. 

By Jane (7th grade)

Friday, April 11, 2014

How to use Autodesk 123D Catch to Scan an Object

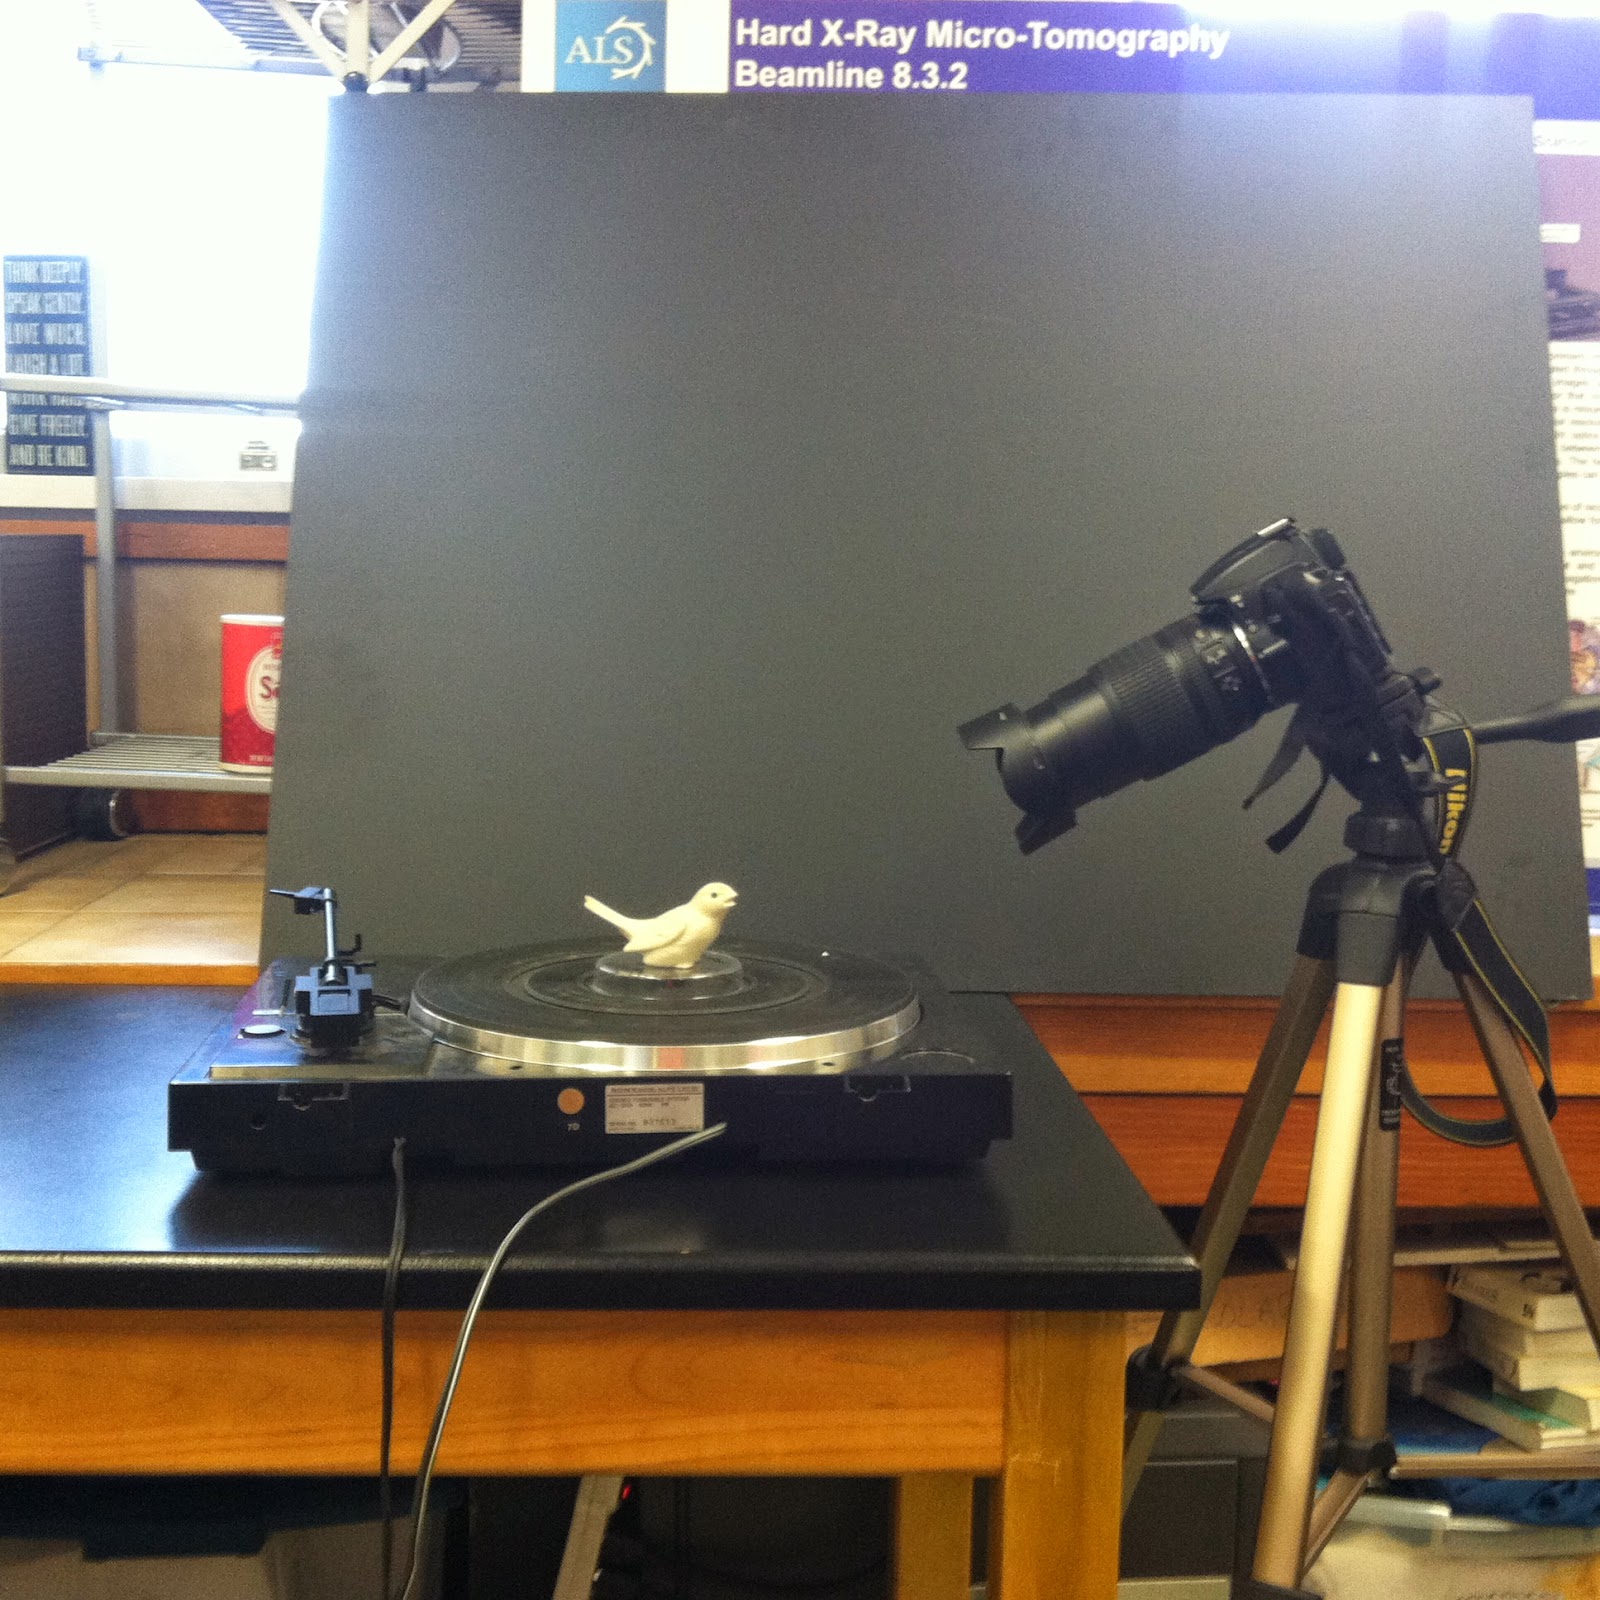
1. You need something that can spin with an object on it like a record player,  a camera and a tripod. You will also need a computer with a web browser that supports WebGL and an internet connection.

2. Make sure to take the exact number of photos specified because 123D Catch only allows you to upload up to 70 photos. Take 30 photos at a 45 degree angle of the object while spinning it. (see picture on the right)
3. Take 20 more photos at a more elevated angle while spinning the object. (see photo on the left)


4. Take 20 more photos at a low angle while spinning the object. (see picture on the right)
5. Upload the photos to Autodesk 123D Catch App.
6. Wait for Autodesk to process the photos.
7. Select and Delete any unwanted objects in the photos.
8. Then Select File>>Download as an STL.
9. Print on your 3-D printer.


Don't worry if your first try doesn't work.  Try again. In my experience,  it works 50% of the time.
Here are pictures of the completed scan:


Thursday, April 10, 2014

Tips for 123D Catch

We "recently" got an iPad air and have started downloading scanning apps. The one I'm using right now is called 123D Catch a free 3D scanning app from Autodesk. You take multiple pictures at many angles and it puts them all together to make a 3D image. The Styrofoam head I scanned turned out to look a bit like a mask. Still, not bad for a 2nd try (the first was of someones head. It failed). 123D Catch uses photogrametry to work which is using triangulation to find the XYZ coordinates of a voxel.

We also tried using a DLSR camera.to take 70 pictures of a Jackel and then turn it into a 3-D model using 123D-Catch. We got a pretty good 3-D model(on the right).

The next time we tried, we used a record player to spin a bird and took 70 pictures at 3 angles. We got a perfect 3-D model!

- By Sam and Luka (6th grade)

Thursday, April 3, 2014

3D Scanners - What are the Options?


[This post represents a collaboration between me, the teacher, and a number of my middle school students.  It continues to be a work in progress!]

While CAD is fun, I am keenly interested in students' capturing their own data to work with and print.

So, we looked into a couple of ways we could make this happen:


    1. Photogrammetry is the science of making measurements from photographs - geometric properties (gives texture, and is dynamic). Photogrammetry relies on triangulation (Using triangles to determine the XYZ coordinates of a voxel) to make a 3-D model of an object An example of this is Autodesk 123D Catch which allows you to take about 70 pictures of an 3-D shape
              and make a 3-D model of it.   

    2. Laser line 3D scanning is a non-contact method of capturing the shape of a 3 Dimensional object. It uses a laser and 1 DSLR camera. If  you have the camera the cost can run as low as $20. The laser allows you to use triangulation because it creates a known angle in relation to the camera.


    3. A structured-light 3D scanner is a 3D scanning device for measuring the three-dimensional shape of an object using projected light patterns and a camera system. Good tutorial


    More notes we are working on:
    • utilize a 3D scanner (some DIY models run as low as $300 / higher end models run into the $1000s)
    • https://www.matterform.net/review
    • http://www.matterform.net/faq
    • http://solidsmack.com/fabrication/matterforms-photon-3d-scanner-is-a-point-cloud-of-beauty/
    • Makerbot Digitizer
    • (new) Structure Sensor - a Kickstarter for a mobile scanner for your iPad.
    • (added11.12.13) 3D Systems Sense 3D scanner - just heard about it, need to learn more
    • visit a local makerspace that may allow you to run your own scans on their equipment
    • use a service like Autodesk123DCatch - http://apps.123dapp.com/catch/ - where you send in a series of 2D photos (taken in class) and they send back a file with a 3D reconstructed constructed model.

    Time-of-Flight Scanners
    Triangulation Scanners
    Structured-light Scanner
    Stereoscopic Scanner
    Photoscopic Scanner
    Silhouette Scanner


    structured light vs laser CCD
    David Laser Scanner
    CadScan 3D (now called Cubik)

    Other things to watch: 
    http://www.trimensional.com/

    http://www.engadget.com/2013/03/16/insert-coin-semifinalist-moedls-3d-scanner-for-your-phone-hands/
    http://www.indiegogo.com/projects/photon-3d-scanner/


    Open Source CT scanner (cool!) http://makezine.com/magazine/make-38-cameras-and-av/open-source-ct-scanner/

    Saturday, March 1, 2014

    Air hockey robot made from 3D printer parts!

    Impressive use of spare 3D printer parts!  Read more about the maker, Jose Julio, and his project on his blog.

    It's the little things that save your sanity

    My homegrown makerspace has been a labor of love and has provided its own set of learning experiences.  I've found lots of advice about shopping around for furniture, bins, tools and supplies, but here are two items I also recommend, discovered out of sheer necessity.

    #1 - A small, "cute" tabletop garbage can.

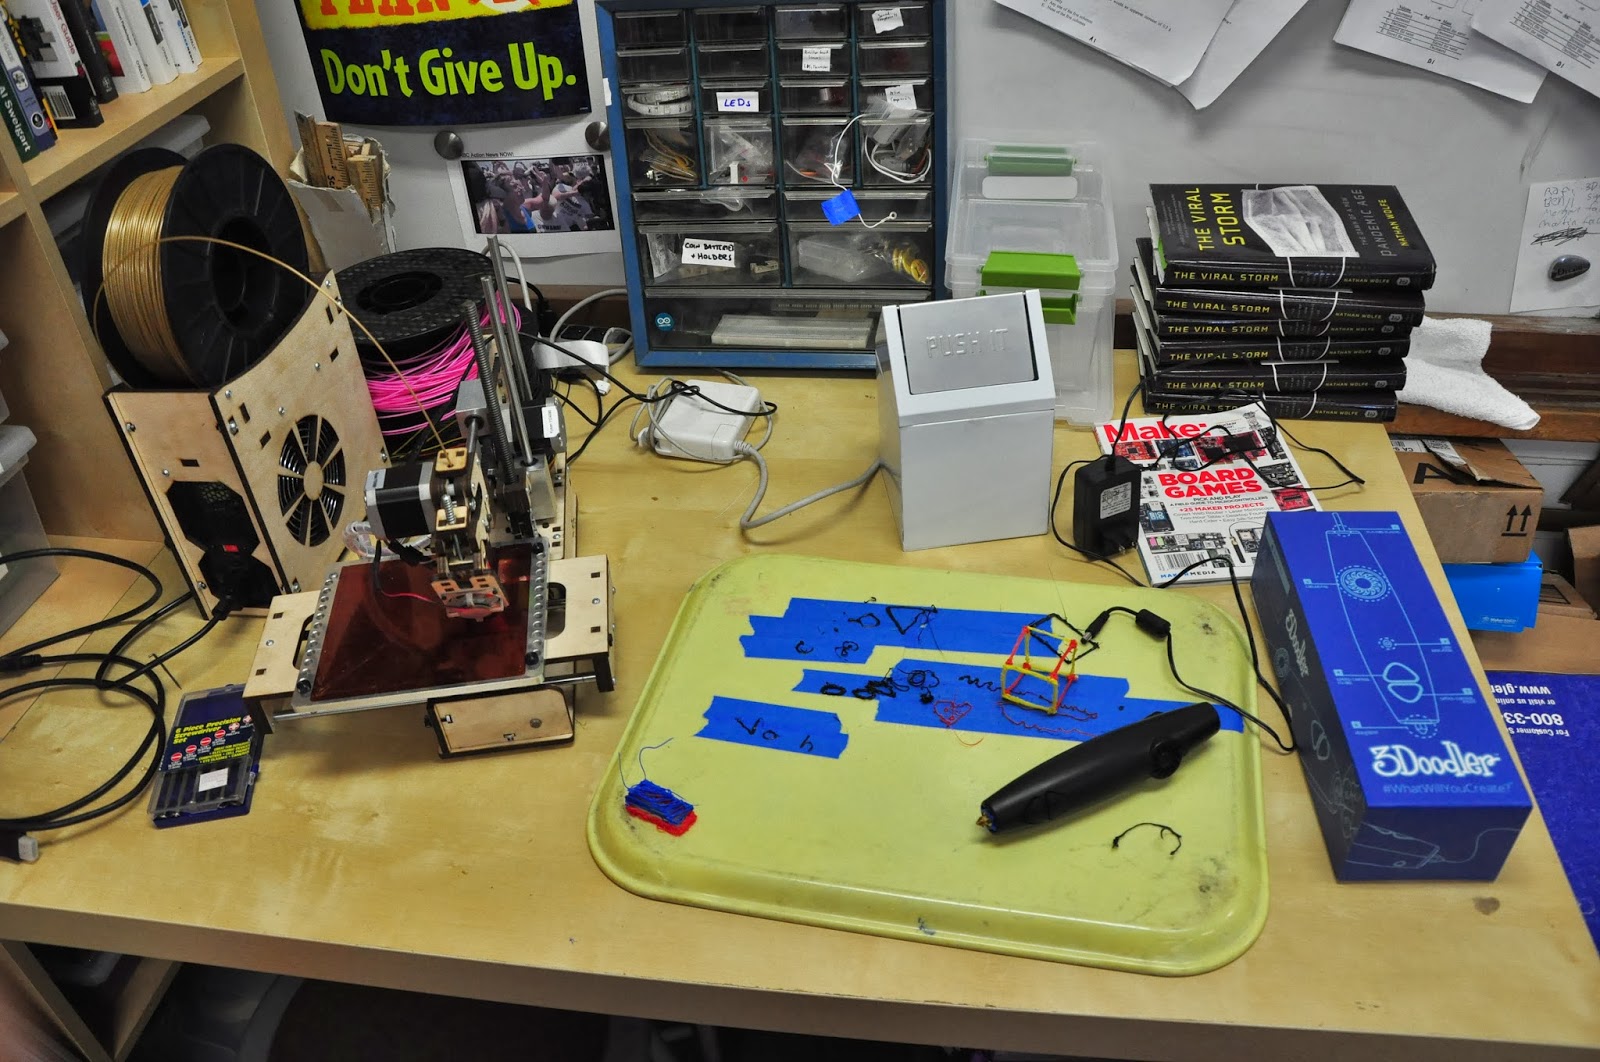
    With 3D printing, you will have little bits of extruded plastic EVERYWHERE.  My middle school students were notorious for leaving scraps laying around, or brushing them onto the floor. Enter one "cute" garbage can.  Now they can't wait to put their scraps in there, and they even like looking inside of it to see their collection of scraps and failed prints grow.  (I can't explain them, I just teach them.) :)  It's also easily portable, and we move it around the room as different tools and 3D printers fall in and out of favor with the group.  I bought this one at Target.


    #2 - A 3D print display stand (ie: a non-slip spice rack)


    The students in my science classes love to handle the 3D printed objects that are left behind in my room.  Often, science students will take a model to their desk and just enjoy having it sit there for the duration of the 50 minute class period.  However, the constant movement was a challenge.  I tried a spot on the table, ziploc bags, buckets and trays, but the models were all over the place.  Until I ordered the spice rack.  Still room for improvement, but it's better.  I plan to order a second one.  Of course you can build your own, but I (embarrassingly) was looking for a cheap, immediate, injection-molded solution.


    PS: We also discovered that an O Organics animal cracker bin (Safeway brand) fits the Cube build plate perfectly to soak off the "Cubestick" glue!