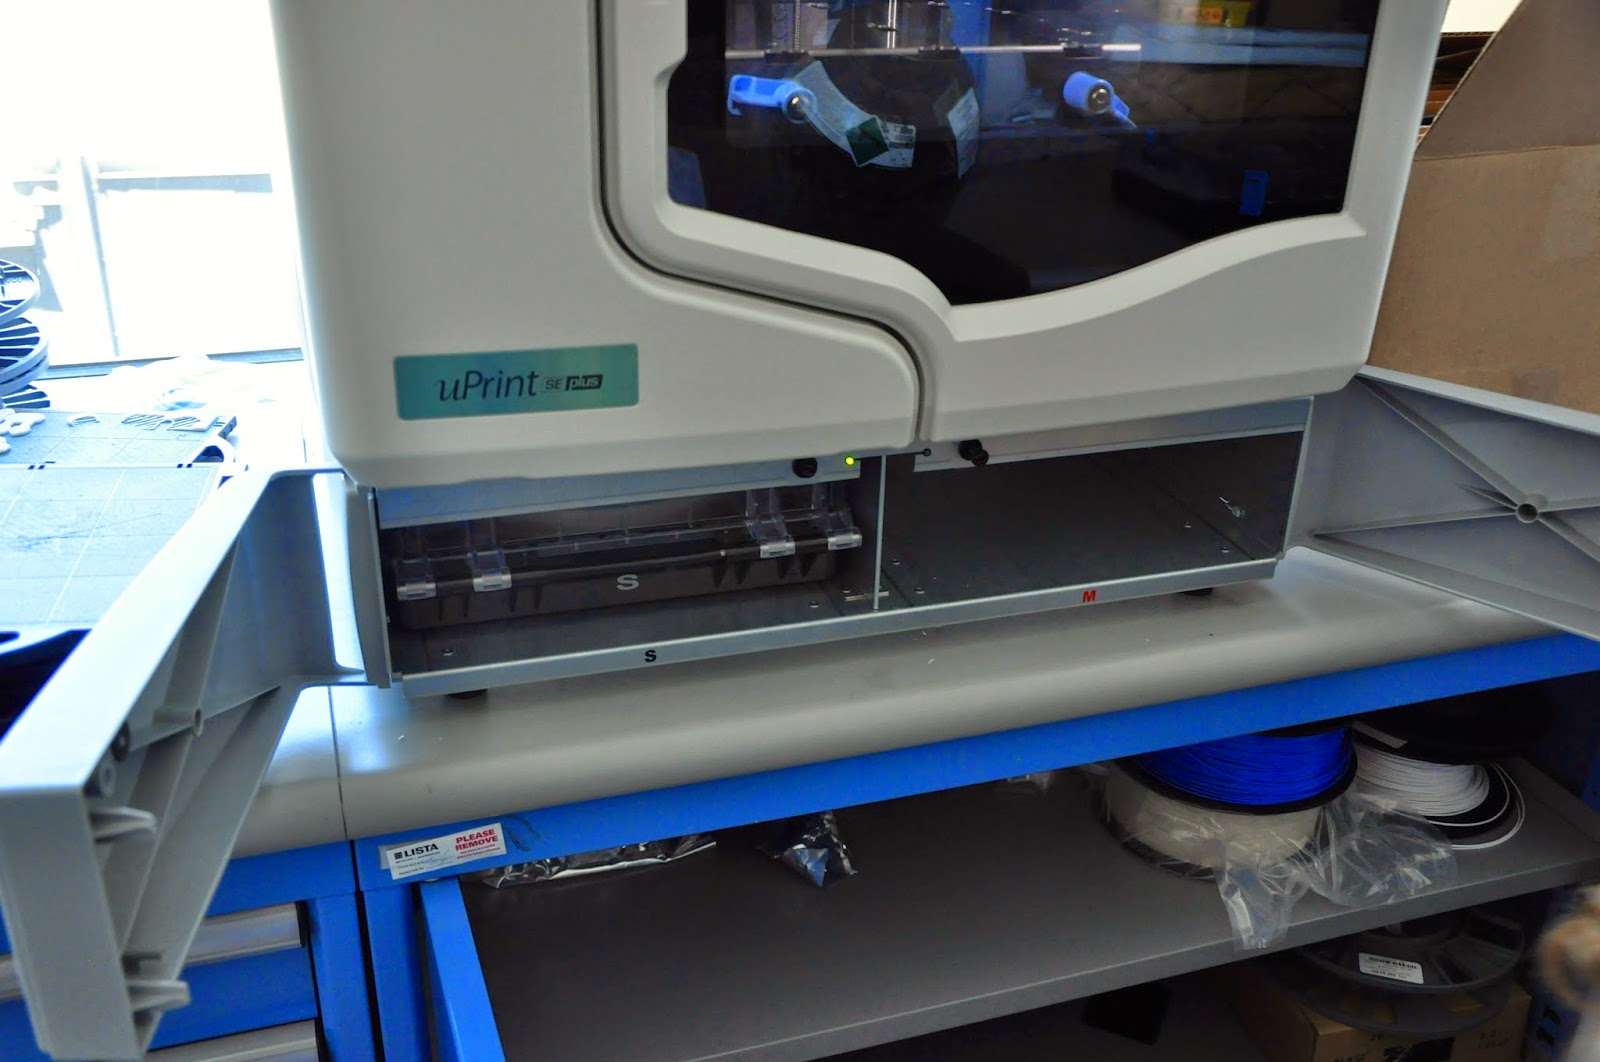
My first few days there, I was asked to familiarize myself with its workflow. It is refreshingly simple and very similar to working with my consumer-level printers (minus the mechanical issues of filament tangling, print not sticking to bed, etc). It is actually quite incredible in its simplicity and reliability.
The first item I chose to print was a model of a Taung Child Skull, featured in a recent Radiolab podcast and available on Thingiverse. Radiolab worked with MakerBot and the Field Museum in Chicago to scan the original skull.
This is is just one of the many exciting models to be made freely available through the increasingly availability of scanner and consumer 3D printers. In fact, you may want to check out the Smithsonian's entire X 3D collection!
The Taung Skull (named such because it was discovered in 1924 in Taung, South Africa) is a fossilized skull of a young member of the Australopithecus africanus species, in intermediate between apes and humans, and considered the first evidence of bipedal walking. It is thought to be about 2.8 million years old. The Taung Child was originally thought to be about six years old, but more recent investigations place the age more likely at 3 or 4 years. It has been hypothesized that the child was killed by a large predatory bird based on scratches in the eye sockets.
I am looking forward to sharing both the story and the model with my students.
Here is the uPrint. Perhaps my favorite feature is the auto-shutoff. After you start a print, you can instruct it to power down at its completion. Quite helpful when you are printing 24+ hours!
The software is very intuitive. And you can easily add STLs to the "pack," printing multiple files at once. There is also the ability to auto-orient, which is nice. The support material, like most machines, is auto-generated.
You can see from the image below that this was a 16 hour print.
| click to enlarge |
The printer itself is highly independent. It reminds me of a washing machine! One aspect I found interesting is that whenever it switches between support and material (it's PLA) and printed material (it's ABS) the nozzle returns to the back left corner, scraping over a steel brush to (I presume) clean itself.

Next, the print needs to go into the chemical bath to dissolve away the support material. Though the exact material is proprietary, it is likely some sort of caustic soda (sodium hydroxide). Whatever it is, it is quite basic, kept at 70 degrees Celsius, and is agitated. To put this in time perspective, this print was in the dissolving bath for 7 hours!
 |
| Final Skull Print |
There are a couple of interesting differences between this prosumer machine and the one we have in our classroom. The filament basically loads and unloads itself. There is a pretty intense cartridge and included RFID tag that tracks everything (lower right).

Maintaining this machine is not cheap. Our 1 kg filament rolls cost about $35 - $45. The uPrint's 1 kg rolls go for about $200 a piece!
Moving forward, I will be using the uPrint to print tomographic data sets, like our eggshell or this grapevine - so cool!


That 3D printed skull reminds me of this http://www.3d2print.net/shop/blog/cool/heads-need-new-skull/. But rather than using ABS, the hobbyist utilized the white PLA filament in 1.75 mm. Do you encounter filament warping when 3D printing with ABS?
ReplyDeleteYes we do. That was one of the problems during the epic Ipad stand journey. http://talesofa3dprinter.blogspot.com/2013/11/the-epic-ipad-stand-journey.html
ReplyDeleteHi buddies, it is great written piece entirely defined, continue the good work constantly.Read more
ReplyDelete