Thursday, December 19, 2013

The Printrbot is Home!

After a summer of wild adventures, our first Printrbot (circa 2011) is back.  High school alumni borrowed the machine over the summer, taking it to a summer internship and tinkering with it at home.

At this point it is re-wired and a little over-loved.  Currently rendered non-functional, it represents yet another learning opportunity for Maker Club.  Bring. It. On.


Sunday, December 15, 2013

Top 10 Tips for 3D Printing Design from the MAKE Stage

Kacie Hultgren, more commonly known as "PrettySmallThings" on Thingiverse, gave this helpful talk at Maker Faire NYC 2013.  While the video below does not show the slides which correspond to her talk, Hultgren kindly provided a link to the presentation on Slideshare.  (If you are interested, Hultgren also has a bunch of 123D Design tutorials on YouTube that you might want to check out, or you can read this MAKE magazine interview with Hultgren.)  


Here are the "Cliff Notes" of her top 10 (fused filament fabrication) rules for designing for print that she "learned the hard way, on [her] own, and from ... culling through the Thingiverse universe and trying to learn from other designers."  Scroll down to watch the presentation or view the slides.

1.  The 45 degree rule - "[FFF] printers do not print with dissolvable support material, so whenever possible," you want to avoid support material.  (Overhangs that are greater than 45 degrees will need support material.)  So keep your layers within that 45 degree or cut up the design and print the cut parts as self-supporting, then assemble.  (see Plated Okapi below)
2. Add custom support material - don't rely on the computer algorithm  - "be smarter than the computer" and design your own. 
3. Ditch the raft - Rafts are "good for beginners" (like us!) since it helps with adhesion and helps level out the build surface if the build plate is not quite level.  But it adds print time.  If you have ditched the computer-generated support material, why not ditch the raft?  Add "mouse ears" or helper disks instead (shout out to TinkerCAD) 
4. Know your details - "double your thread width + fudge factor" = what is the smallest feature you can design?  You need to know the limits of your machine.

5. Design in fit tolerance -  She says this is tough.  She recommends making a test print with many different diameters to see what fits in, so that you can design in the correct measurements.
6. Use shells properly - shells are "copies of the perimeters" or the walls. Two shells is good for most prints, unless you think your design will need to withstand a lot of stress.  Be careful not to use too many shells in a delicate areas, as this may prevent any kind of fill.
7. Optimize walls for thread width -  Take advantage of your thread widths to optimize print time for thin walls.  
8. Orient for best resolution -  Resolution only refers to z-height.  Thread width (generally) does not change - either .4 or .5 mm (measurement of the nozzle).  "It is always going to be the same width, no matter how thin you can make it."  So orientation matters!
9. Orient for stress -  Prints can break along layer layer lines, particularly with ABS.  So again, orientation matters!
10. Tackle print in place - "pull the element designs to the build platform," build out at 45 degrees, "use bridges for captive parts" and "gap print carefully" (<< this #10 tip I'll need to investigate more, since I don't fully understand what she is talking about) - Check out the thought process in orienting this print, Umbrella.

Earlier in the talk, Hultgren interestingly comments on iteration saying that tries to "prevent iterations" (9:53) "We always say it is good to iterate on a 3D printer - it's even better if you can get it right the second time, or maybe the third time, instead of the tenth time."  In the Q & A, she gives this advice: "I used to sort of create a design and then test it until it worked.  And now, I keep all of this in mind before I start and I do as much testing upfront as I can, so that once I send it to printer I am pretty confident that it's going to go ahead and print."

Of course, after I wrote this post, I realize that MAKE Magazine wrote a very nice blog post on this presentation already, you if you haven't seen it already, you may want to check it out.

Wednesday, December 11, 2013

Our Five 3D Printing Tips Featured in THE Journal

Today, my students and I are happy to announce the publication of an article featuring... them!  It's called:

3D Printing in the Classroom: 5 Tips for Bringing New Dimensions to Your Students' Experiences
Advice from a middle school science teacher who uses 3D printing to help students learn design, production and persistence.

The article distilled our interview into the following 5 "tips" -
  1. Let the Printer Be the Lesson
  2. Consider the After-School Club Approach
  3. Admit You Don't Know It All
  4. Don't Grade the Results
  5. Don't Underestimate the Kids
My favorite quote they included is "Your students will help you learn, Mytko said. "Be really honest," she advised. "I think teachers are used to being the experts in the classroom. We need to admit to kids when we're not the experts and ask them for their help in learning together. We approach the whole Maker Monday thing as a team effort."

Mytko acknowledged that while coming clean can be "academically humbling," it avoids the added embarrassment of having the kids "see right through that — especially at the middle-school level."

So true!

Here are the kids featured in the article: 

Cole and his iPad (previous post)

Hayley & Inika designing their picture frames (previous post)


Finally, here's a link to the curriculum mentioned in the article. I wrote this back in July, and have since learned a lot through implementing our Maker Mondays.  I hope to use winter break as a time to revise and update my plans to better reflect the "better practices" we've developed!

Tuesday, December 10, 2013

Glow in the Dark Filament!

So, when we received our new Cube, 3D Systems sent along some complimentary cartridges (in addition to what comes in the box).  One of the colors was Glow-in-the-Dark Neon Blue.  My students recently switched to that cartridge and I'll have to admit, it is pretty cool!  (Hard to photograph, though; it was truly a "shot in the dark"!)


Using an iPhone...


Using a better Nikon...


Sunday, December 8, 2013

3D Printer #4 (Our new Cube - Take 2) - Limit Failure and Filament Flow Fail

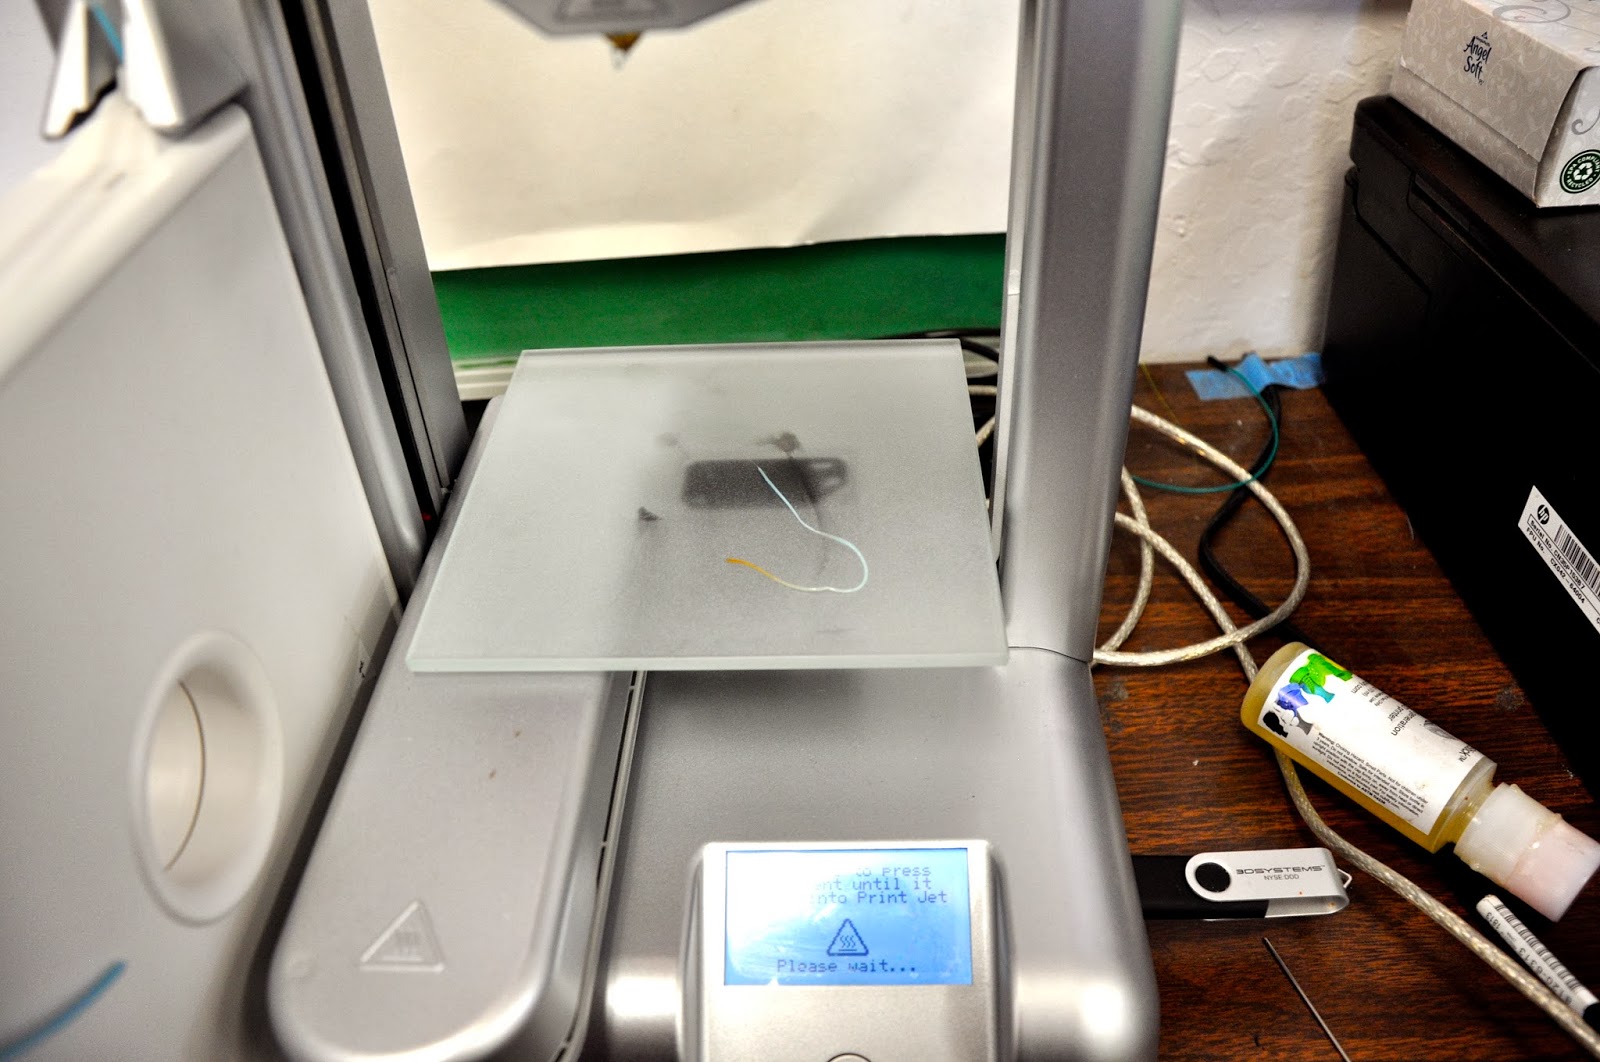
As you may have read in our previous post, our school was lucky enough to have a Cube 3D printer donated to us by 3D Systems two months ago.  I let the kids set it up (after all, they've set up my last three 3D printers!) and they were not able to get it to work.  So much for "straight-out-of-the-box" printing. :/  The printer was making a terrible noise, and we weren't sure what to make of it.  After combing the Cubify blogs and forums, and rewatching the (pretty great) set-up tutorials, we were at a loss.
Eventually, we contacted 3D Systems and sent them a video of the problem, and they replaced the machine.  The paperwork on the box indicated a "limit failure" which I have not yet seen detailed anywhere on the web.

With this second machine, I watched the kids like a hawk and, as promised, it was up and printing in a matter of minutes.  As for the limit failure, I understand that sometimes these things happen.


Once the machine was up and running, there are some definite pros.  
  • The machine is E.A.S.Y. to run.  You hardly have to deal with leveling the plate, or setting the gap. Once you hit the button; it has just worked.  No tangled filament, or random air prints.
  • The print quality is great.
  • The support material is brilliantly minimal, therefore leaving little residual marks on your print.
  • The touchscreen instructions are very clear and you can be printing with little to no 3D printer experience in minutes!
  • It looks great, very sleek and compact.

However, we came across a few cons:
  • You are locked in to using Cube cartridges for filament.  (3D Systems did generously give us four kid-friendly colors to get started.)
  • The machine is not intended for tinkering, and therefore it is very hard to come up with solutions to problems when you are discouraged from taking it all apart and investigating.

We also came across some features that were different and will take a little getting used to:
  • The build plate is magnetic - it just snaps in place.
  • You need to apply special 3D Systems glue to the build plate before using - so there are no rafts - but there have been no issues with curling either.
  • In order to remove your final print, you need to submerge the print + build plate in water, until the object loosens up and can be pulled off the plate.  (In case you are wondering, a 30 oz Safeway O Organics animal cracker container conveniently happens to fit the build plate perfectly!)

We got a couple great prints from the machine.


And then...

Filament Flow Fail #1:  After swapping out the neon green filament, we got the error message "Filament Flow Fail" on the touchscreen.

So we did a little research and read over a post on how to fix a Filament Flow Fail.  The blog post makes this sound like no big deal, ending the post with a flourish: "Run one small test print to ensure the Cube is happy, and, voila. Filament Flow Fail is solved!"  Well, it didn't go down like that for us.  


We heated, and poked, but no bits of filament were coming out.  Every day someone would go over and try and fix it, to no avail.  Then, one morning, it just worked.  Strange.  We didn't ask too many questions, and got on to printing.


All was well through our next filament change, where the student forgot to thread the filament through the Cube Tube.  In this case, the filament would soon get stretched at an awkward angle, and likely snap.  So we aborted the print and (not surprisingly) the filament snapped.  (Around the web, there are a lot of complaints (see comments) about the integrity of the Cube filament.  It definitely has a different feel than that from, say, Inventables.)  There was perhaps a millimeter sticking up from the PrintJet and we intended to catch it with tweezers, but as the nozzle heated up, it pulled the tiny end of the filament beyond our grasp.

Thus initiating... 

Filament Flow Fail #2:  No error message this time.  The broken piece would not melt out using the described methods and new filament would routinely get stripped upon re-insertion, indicating a persisting problem.  (The image below shows the stripping from Filament Flow Fail #1.)


Heating and poking wasn't working this time.  We found this other post was much more realistic & included this excellent diagram of the mythical insides of the PrintJet. (By this point, one kid had taken apart the broken Cube's PrintJet to study it.  I made them hold off on taking apart the functional Cube.) 
Then, yesterday, when the kids weren't around, *I* took apart the functional Cube, since this was getting ridiculous.  Not only was the filament not coming out, but the nozzle was not even heating up when the screen indicated.  (I am pretty sure I voided whatever warranty doing this, but you know the Maker creed.) The issue was quickly apparent.  If you look right in the middle there (you can click on the image to zoom in), you can see  a tiny blue piece of filament jammed in below the gears.  Without the gears being able to engage, the filament wouldn't move.  Without the nozzle heating, there was no chance of it melting anyway.


In the illustration below, I have modified the the aforementioned blog author's excellent diagram to illustrate our problem more clearly.  I discovered that not only was the piece of filament below the gears, but it was also leaning off to one side. In the left image, you can see how the poking tool would easily push a typical broken filament down and out of the nozzle, but on the image on the right, you can see that, in our case, the poking tool was not making full contact with the filament and was ineffectually pushing the filament piece sideways.


Using a fine tweezers, I wrestled the filament back into an upright position, and watched from the side to learn the best angle of attack.  After screwing everything back into place and engaging the "loading cartridge" event, the nozzle heated!  This time, the tool was effective and after some initial pressure a big string of filament burst out of the nozzle.  Looking closely, the end of the expelled filament was burned and of a different consistency. Sort of reminded me of a bear plug.  (I know, I know, that's gross, but thats what you get for having a life science teacher writing this blog!) 


After the "filament plug" was expelled, the remainder of the filament was easily pushed out and the new filament was loaded as expected.


So now the Cube is back in action.  This entire ordeal inspired continued discussion among the students around open source versus closed hardware and software.  I think the expected thing to do in this case was to call the company, and they probably would have replaced the PrintJet, or perhaps the machine.  But just by looking inside, we were able to diagnose and solve our own problems.


Friday, December 6, 2013

The basics (and more!) of 3D Printing

For those of you interested in the basics of 3D printing, this video (4:16) is a nice overview by Avi Reichental, CEO of 3D Systems.  I think he says a lot of important things, but most of all: "There's always exciting opportunities and unintended consequences."  Isn't that always the truth with any new technology?


PS: Below is a picture of me & Avi (on the left).  I saw him speak at the Engadget Expand conference in March 2013.  After the panel discussion, I was walking around, and there he was! I asked him if I could take a picture with him.  He laughed and said, "Sure!"  The CEO of 3D Systems is my kind of celebrity!  While I am at it, in the picture on the right, I am standing with Keith Murphy, Chairman and Chief Executive Officer of Organovo.  He even agreed to Skype my class when we move to our cells unit!  (I met him at the Inside 3D Printing Conference in San Jose, CA.)  So exciting!


ANYway, for those of you looking for a little more detailed introduction of further education on 3D printing, I recommend a series of webinars I ran across recently.  This series of videos heavily leans towards the Stratasys machines, but addresses a variety of technologies.  Each webinar (of three) is presented by Chris MacBain of GoEngineer.  Here is the short list (with links to each video on YouTube) or you can keep reading to get a brief summary and embedded videos below.

Part 1: 3D Printing 101: What is 3D printing? (28:22)
Part 2: 3D Printing 201: Which 3D Printing Technology is Right for You? (32:51)
Part 3: 3D Printing 301: Applications of 3D Printing (27:22)

Part 1 starts at the very basics, and introduces the 3D printing technologies of PolyJet, Selective Laser Sintering (SLS), Fused Deposition Modeling (FDM) and Stereolithography (SLA).  Part 1 goes on to explain the workflow involved with 3D printing from CAD model >> STL file >> necessary printer prep >> slicing into layers >> 3D print.  Then, focusing on Stratasys machines, MacBain goes into more detail about PolyJet and FMD 3D printing technology, including pros and cons of each (especially in regards to the support material) as well as current applications.


Part 2 goes into more depth with the technology, and pros and cons of each type: FDM, PolyJet, SLS, ZCorp, Multi-Jet Modeling (MJM), SLA.  I enjoy his refreshing honesty when discussing the drawbacks of each.


Part 3 goes into some advanced applications with functional prototypes, manufacturing tooling,  concept modeling, and end use parts.  My personal favorite quote comes early in the webinar, when MacBain is discussion the many references to 3D printing in the media and public events.  These references or demonstrations often involve printing something visually appealing but relatively useless (at BPC, we are partial to printing yellow ducks, or 6-link chains to show off our printers).  MacBain says, "It almost does 3D printing a disservice because it is so much more than a machine to build trinkets, or cool little parts..."


Wednesday, December 4, 2013

3D Systems is going to FIRST Robotics!

For the first time ever, the FIRST Robotics competition sponsored by America Makes, the Oak Ridge National Laboratory and the U.S. Department of Education is providing 3D printers to its contestants - approximately 450 3D printers in total.  There are several companies on the FIRST Robotics Competition 2014 Printer, Software and Services Donors List, including both 3D Systems and Stratasys!  You can read 3D System's blog post on the "winning" the bid here.
"We see a great potential to expand the use of 3D printing in FRC," FRC Director Frank Merrick said. "From the new options in prototyping to on-demand parts, 3D printing opens up a whole new world of possibilities in engineering, and we're very excited to introduce this capability to our young competitors and see what our participating teams come up with."
3D Systems, in return for the big order, is donating its entire Cubify software design suite, including Cubify Invent, Cubify Design and Cubify Sculpt, to every team participating in the competition, along with some cloud printing coupons. (psst - you can get a copy of this design suite, too, by entering the Scholastic Art & Writing Awards’ Future New Challenge, boosted by 3D System's offer of free software!  Deadline is soon!!)


I learned that FIRST stands for "For Inspiration and Recognition of Science and Technology" and is billed as "the varsity sport for the mind."  If you want to see an interesting documentary on FIRST Robotics, I recommend this 43 minute show - "i.am.FIRST: Science is Rock and Roll" - self-produced by Will.i.am from the Black Eyed Peas.  My favorite quote is when Will.i.am says "If the Black Eyed Peas can play at the halftime at the Super Bowl, we can play at the FIRST Robotics competition"!  (To learn more about this project, check out this news clip.)


Our 3Doodler has arrived!

The kids are excited!  Earlier this year, I backed the 3Doodler on Kickstarter, and our very own 3Doodler finally arrived in the mail today.  Unfortunately for the kids, the mail arrived right at the end of the school day, but I agreed to wait and let Maker Club try it out in tomorrow's club meeting.  I am sure we will have 3D drawings to share! 


You can check out my list of backed Kickstarter projects to see more of the cool science & tech things I've backed that will hopefully end up in my classroom soon!  There's still time for you to back your own Circuit Scribe or (Raspberry Pi) Kano kit!  Personally, I am most eagerly awaiting our Structure Sensor!

Sunday, December 1, 2013

BBC Tours Statasys, the world's largest 3D printing factory

BBC News takes viewers on a tour of Stratasys' Corporate Headquarters in Eden Prairie, MN, as well as a quick run (at 4:13) through the Makerbot factory in New York.  (The two companies, if you haven't already heard, merged earlier this year.)