Monday, April 18, 2022

Magnetic Build Plates on our Ultimakers!

Today, we received our new magnetic build plate! The Prusa we have also has a magnetic plate so we decided to put one on our Ultimaker to make it easier to remove prints.

We ordered the build plate from this website. The QR code in the box led us to these instructions.
First, we had to clean the build plate. To do this, we used IPA alcohol, and a cloth napkin to remove any grease and filament debris. This was quick, considering the IPA removed most of the debris from previous 3d prints.


Since the magnet could only be installed on a glass or aluminum bed, we had to remove the BuildTak from the build surface. This step was really important because the magnet we were using was only a one-time use, so ensuring to remove any plastic on the build plate was important.


Now that the glass bed was cleaned and had the BuildTak removed from it, we were ready to align the magnet. Basically, the build plate has 3 parts, the first is your glass or aluminum build plate. Then, on top of it is your magnet, this is what makes the build plate magnetic. Finally, the last part is the printing surface, this is what you directly print on, it is magnetic so that you can remove it and bend your prints off! 

After installing the magnet and print surface, we were ready to print, except for two things. By adding two more layers to our build plate, we needed to level it. After a long slumber of 3d printer leveling, we got a leveled Ultimaker 2+ with a magnetic build plate.


Finally, with the printer leveled and ready to go, we needed to do one last thing. And that is to change some slicer settings. When using our Ultimaker we us Cura as our slicer so we just changed a few settings:


If you want to know more about other settings we changed you can find them here.

Wednesday, December 18, 2019

Ev the Electron at the 2019 ALS User Meeting

Eventually we will create a whole post about our first Kickstarter project: Ev's Synchrotron Adventure: An Electron's Story, but I wanted to share one highlight. We were invited to share our work at the 2019 ALS User Meeting on October 1–3, 2019 at the Advanced Light Source in Berkeley, CA. The scientists and staff there have been so supportive of this project and we are so appreciative!

Poster Slam - 1 min to share our "research"

Our booth was a little different--most presenters shared posters detailing scientific research made possible by the use of the light source, or were commercial booths with special accelerator-related materials and equipment. (Fun fact: one of Ev's co-authors, Sam - now a freshman at UC San Diego - won third place for his heat shield research with NASA Ames and Lawrence Berkeley National Labs. Check him out!) 

Our "booth" at the ALS user meeting (Oct 2019)

Finally, the ALS User's Executive Committee made a little plaque for us--I mentioned that they are very supportive! 


Then, in December, our 2019 seventh grade class participated in writing their own scientific proposals and, through a modified proposal review process, four groups were chosen to go to the Advanced Light Source and scan their samples on Beamline 8.3.2. (If you want to read more about the genesis of this thus-far yearly trip, you can read our 2013 blog post.) Prior to the trip, I had the opportunity to read the latest draft of Ev's Synchrotron Adventure to my 12- and 13-year old students.  The results were.... mixed... though they did say it helped the science be more approachable! (The nice thing about adolescents is that they don't sugarcoat anything to spare your feelings. So, I know the compliments were earnest and the apathy was honest.) 😁


(If you are still reading, you probably would appreciate this delightful cartoon, shared recently by the Canadian Light Source Education page. Click on the image below to go to the page and see more!)

(This says "posted 12-18-2019." But it is was actually written, then published on 5-2-2021. Nothing l like a global pandemic to put a hard pause on anything non-essential.)


Tuesday, May 14, 2019

Tales of Many 3D printers #tbt

[post under construction]

Is there such a thing as too many 3D printers?  I contemplated this over the weekend, as Facebook "memories' reminded me that I purchased my Makerbot Replicator 1 exactly three years ago. Looking around my classroom, I realized I have owned 10 3D printers. So, on this anniversary of sorts, I present: Where are they now?

1 Original Printer bot

[pic of printer in bin]

2. maker bot rep 1

3. Cube
Our first Cube performed great until a problem forced us to replace it. The replacement also worked well, at least until it caught fire.

4. Printerbot (donated to BHS)

5. Printerbot simple metal
Gifted by Printerbot before maker fair 2014, the kids abandoned it, and it now resides Sam.

6. Droplit
We got this as a kit that some Maker Club kids assembled. Unfortunately, the kids that put it together forgot to document the process, and it now sits in a corner. We plan to start repairs after Maker Faire, but until then, it will remain in it's corner, starring down on those who abandoned it.

7. Afinia
The Afinia is the most reliable printer we have used to date. The print quality good, but the rafts are hard to get off. It currently is suffering from a clogged extruder, and will be fixed soon.

8. maker bot rep 1
We got this one for 90$ at a maker clearance event brand new. It worked fine for a while, but there is currently

9. maker bot rep 1
This was also from the clearance event, and was also brand new.

10. Buko bot
We the Bukobot got to act as a more "kid friendly" printer (also because it could print upside down), but there is something wrong, and cannot move on the z axis, and will make grinding noises if attempted.


Others (add to the list)
2 Cetus
1 bioprinter (school purchase)
3 Ultimakers (school purchase)


Newest:
Prusa mini (back-ordered)

Sunday, December 16, 2018

O, Maker Tree, O, Maker Tree! (how cardboard are your branches)


As we are nearing winter break and are in the midst of the holiday season, we decided to build a three-dimensional, recyclable, life size Christmas tree, because, well, why not?
At the start of Maker Club on Thursday, December 13th, Ms. Mytko gave us a 6 foot PVC pipe and told us to make a tree.
It involved a lot of trial and error, and at the beginning we were very disorganized. We had about 8 people working on the tree. About 2 or 3 on making the base structurally sound, 1 person on making the pyramid on the top, 2 people on making squares, and a couple people milling about, unsure about what to do. As time continued, we slowly became more organized. We had two people on cutting squares, and three people on cutting holes in the center of the squares so they could go onto the PVC pipe. We couldn't possibly cut holes in flat cardboard slabs fast enough, until Ms. Mytko came by to give us a suggestion. We cut little x shapes into the center of the cardboard like little flaps and the forcefully shove them onto the PVC pipe. Then we really got into motion. WE had a whole system. One person cutting more squares and passing it to another 2 people finding the midpoint of each square, and us passing those to 2 other people to cut the squares, and then finally, to the last person who tested them on the tree "trunk."
By this time, it had started to grow dark and we hadn't put anything on the tree yet, so with help, we lined all the squares up from biggest to smallest and applied them to the trunk. After around ten minutes of forcing cardboard on pipe and duct taping (of course) everything for structural support, we topped it with the pyramid and admired our work. Someone put the first cardboard ornament on the tree! We threw some fairy lights on it to add to the effect and our Maker Tree was complete!
In Friday Maker Club, people made more ornaments for the tree and hung them up!
It was a great success

(we made sure that students who did not practice religion or Christianity would be okay with a Christmas tree)

PHOTOS AND VIDEOS


Friday, November 9, 2018

Ritz Cracker Speaker

          On 11/8/18 and 11/9/18 another kid and I made a Ritz cracker speaker. The outside is a normal Ritz box with letters cut out but the inside has two smallish speakers. We were hoping to make it Bluetooth although the thing we were using (sonicIQ) although we didn't get it to work. Although the sound is slightly muffled in my opinion it works great. There is a whole on the bottom to let the power cord through and the hole for the heat sync but other than that it looks like a regular Ritz box with negative letter spacing.

Friday, May 25, 2018

Chicken VR at the Maker Faire

[UPDATE 10.15.18: Chicken VR is now available on Steam. Note that you will need an HTC Vive in order to play it.]

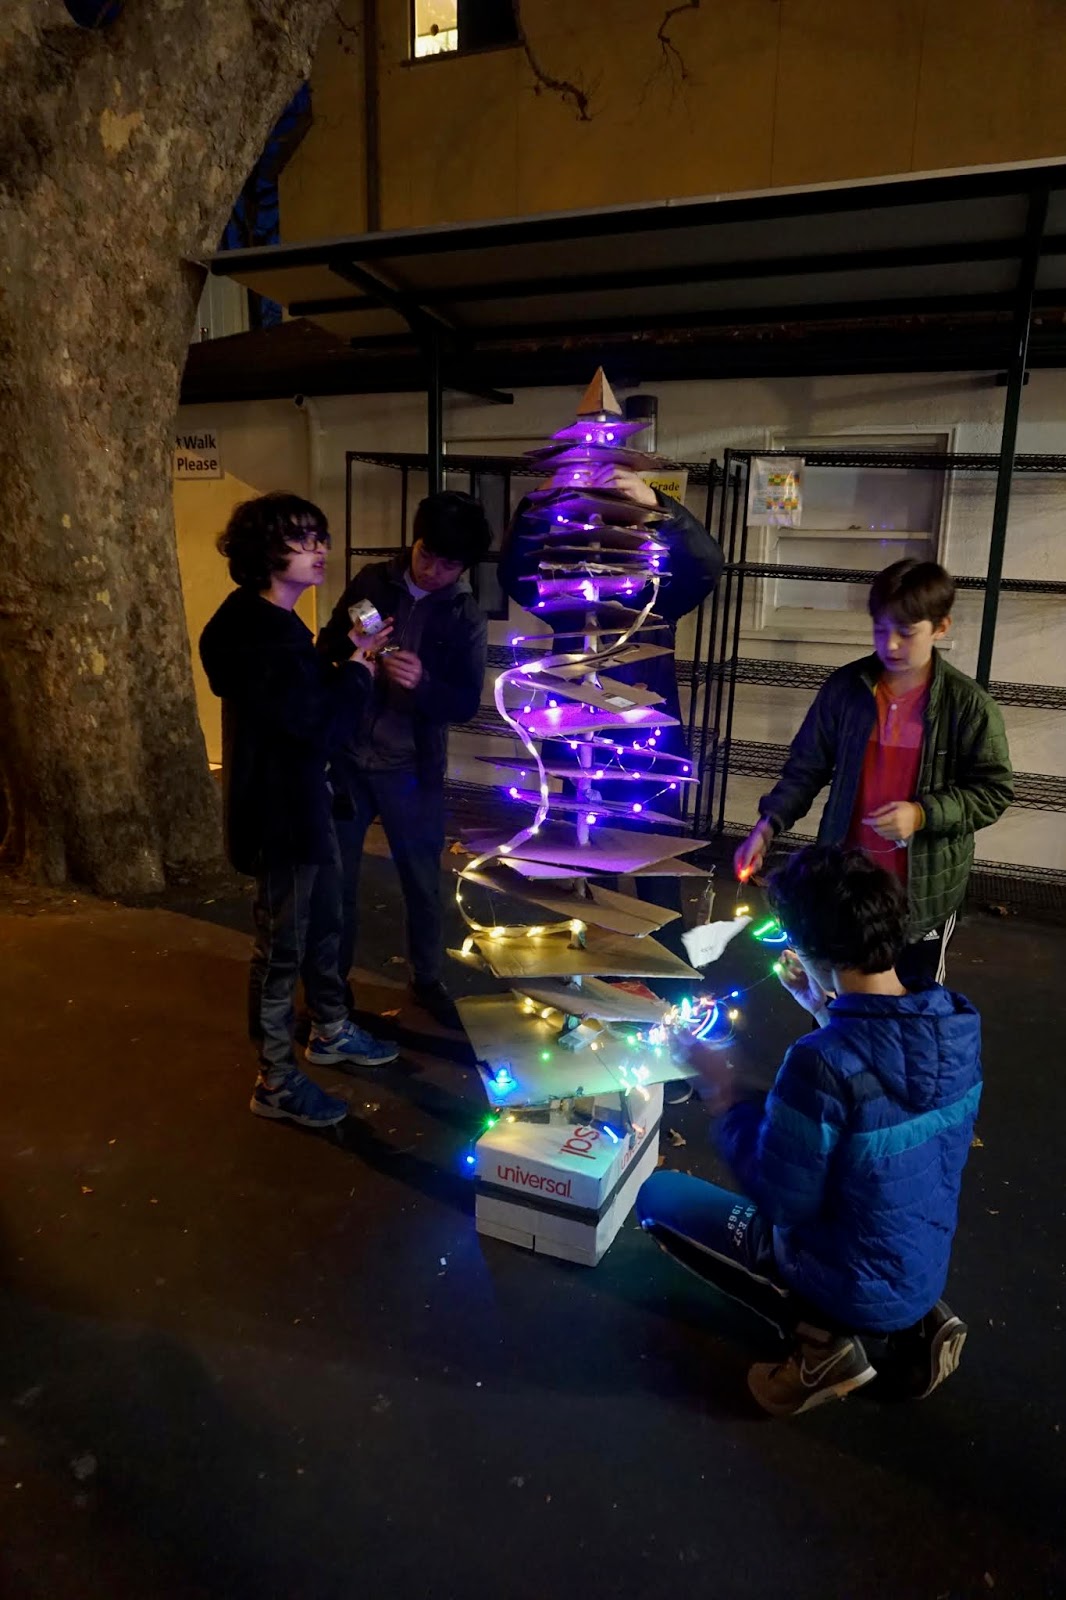
One week ago, we loaded our rented van with kids, chicken crafts, and our HTC Vive, and headed off to the San Mateo Maker Faire. Sunday night we returned with far fewer button-making materials, tired and happy kids, and an Editor's Choice blue ribbon for our project, Chicken VR!


First, a little backstory on Chicken VR: 

At Black Pine Circle School, we're obsessed with chickens. In the science room, there is a chicken calendar, multiple chicken posters, and each of our non-Chromebook computers are named after chicken breeds. The 7th grade science class hatches chickens just about every year, but these birds usually are returned to the farm after a couple of weeks. Until last year, when the garden educator and some students got together to build a chicken coop. After a 2017-year end ceremony, we now have chickens living on campus.


When we were brainstorming for East Bay Mini Maker Faire, we wanted something chicken-related, but also tech-related, with a maker element. We had recently bought our HTC Vive (a few months ago) and wanted to learn more about developing software for it. This is how we got the idea for Chicken VR. It's a first person chicken simulator in virtual reality. You can walk around, eat, drink, and lay eggs.


Our first step was research. 

As with any good project, we wanted to see what was already out there. We searched the Internet and was momentarily crushed to discover that a Oculus Rift Chicken Simulator already existed!  Though it has some really interesting features, we knew we wanted to personalize our first-person chicken experience to match our chickens at BPC.  Plus, the Vive would allow users to walk around in real space, instead of having to sit in a chair.

Another project, Second Livestock,  from Iowa State University assistant professor Austin Stewart "imagines how VR goggles could make chickens believe they’re free-range, even when they’re not. They can explore a virtual grassland, and with future iterations of Oculus, even peck at the ground and bob their heads around to take in the landscape at different angles." (via TechCrunch) Strange, right?

There is also a Virtual Chicken Coop, "the most realistic chicken coop simulator on scratch, currently featuring 10 different breeds of chickens!"

But, we believed we had something different. Besides, can there be too much Chicken VR?

Building Chicken VR

Originally, we brainstormed a design where the trackers would actually be your feet. However, we realized that if we wanted users to teleport, this presents a problem. We thought about getting four controllers, and eventually settled on the design with two controllers held in hands.

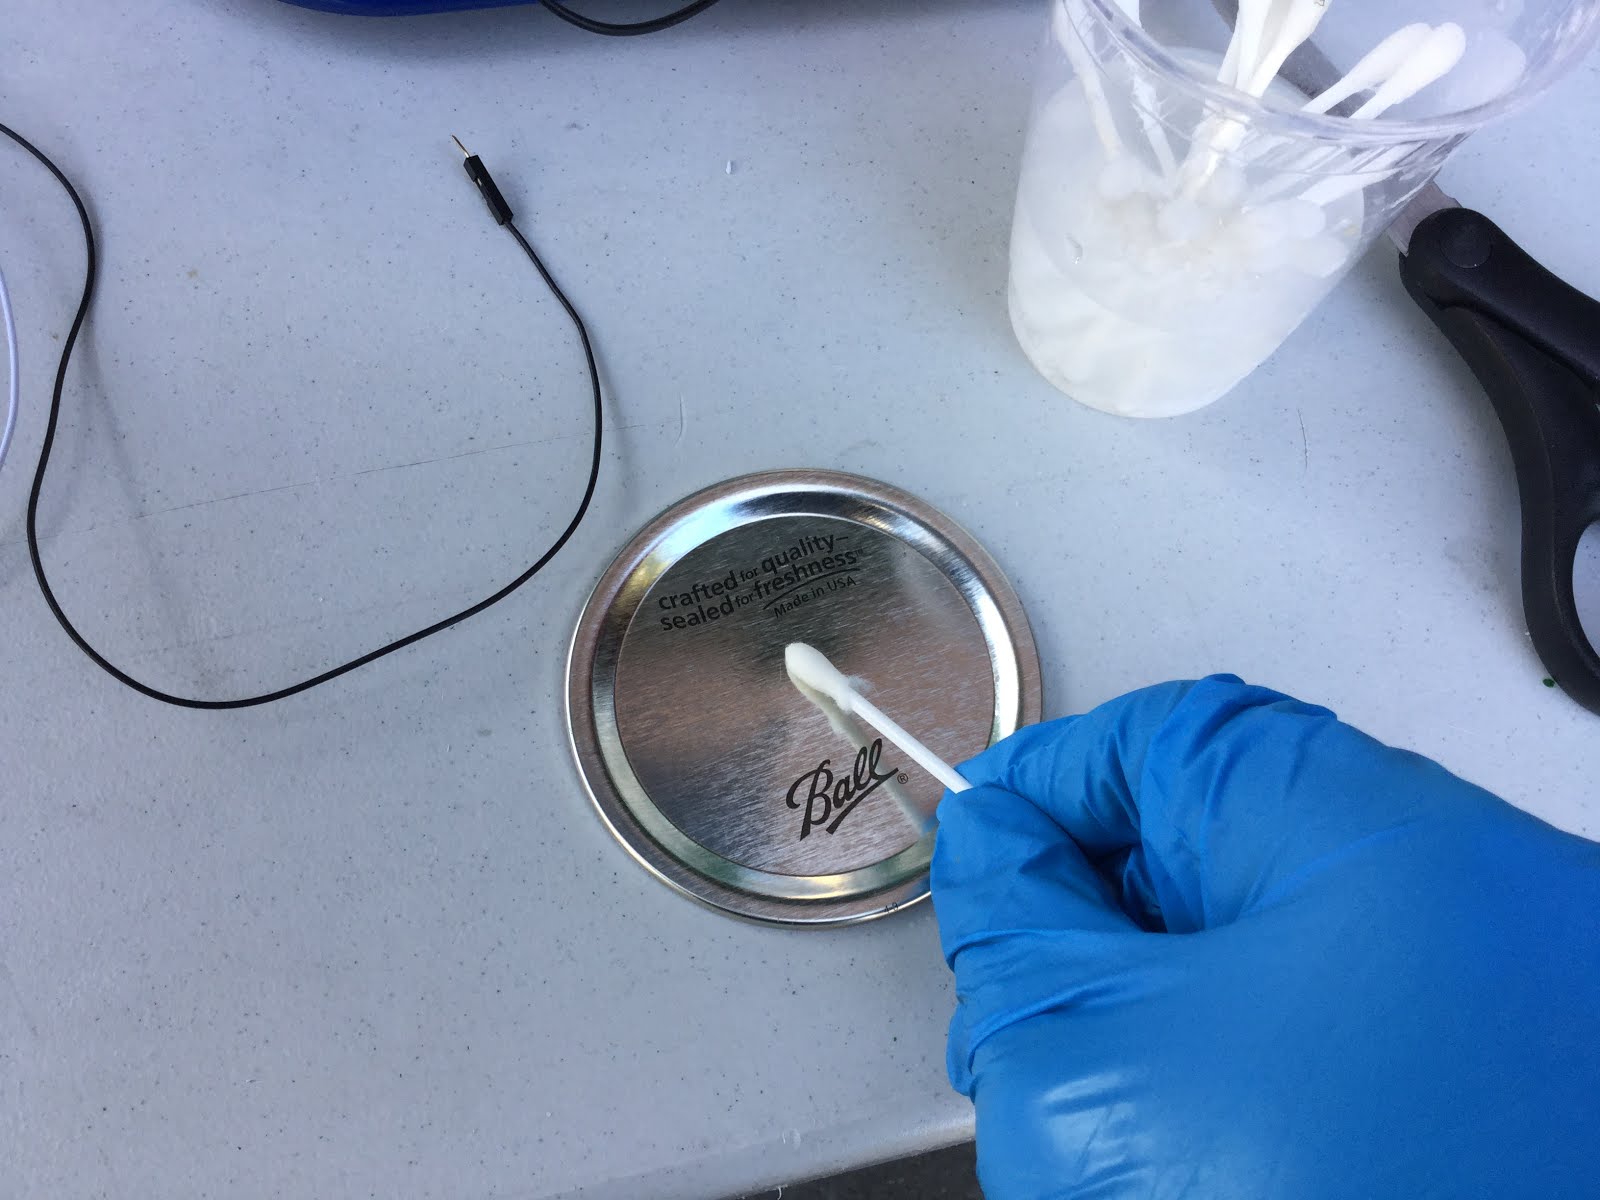
We used TinkerCAD to create the wings out of simple shapes. These wings are attached to the controllers and you can flap and teleport. We used Fusion 360 to create the virtual model modeled off our actual school coop.


Designing the coop in Fusion 360
Finally, we used Unity to design the environment, adding terrain and taking full advantage of the "Mass Place Trees" button before applying various textures to complete the look. We worked on the physics of the wings and eventually added rotation to body movement and made sure the body resizes based on head height to accommodate a wide range of users. 

We added teleportation and a health, water, and food system with HealthTracker script. In Chicken VR 1.0 (which we brought to the East Bay Mini Maker Faire) when the beak touched food or water, your scores would increase and there was a dehydration timer involved as well as a health loss if food or water is empty.


Version 1: 2017 East Bay Mini-Maker Faire

We showed an initial prototype version at East Bay Mini Maker Faire and got feedback from a survey. Some of the responses were "interesting..." Here are some examples:
  • It should be less 3d
  • Make it more reelistik
  • You should be abel to lay eggs
  • Other chicken friends for me to be with
  • Sounds


Version 2: 2018 San Mateo Maker Faire

Before Bay Area Maker Faire (a few weeks before), we removed the health, food, and water tracking systems and added some new features. Now you can lay eggs when you pull the trigger and fly. There's even a purple hand that follows you around and feeds you a worm periodically. There are new sounds, which include "chicken eating," "chicken drinking," "chicken background," "slurp," and "flap."

Besides Chicken VR (which often had long lines) the maker club kids had additional chicken crafts available. People could make chicken buttons, or other chicken-related crafts. The button backgrounds came from a coloring book titled Exotic Chickens: Coloring for Everyone (Creative Stress Relieving Adult Coloring Book Series). The button machines were, as usual, a big hit with kids and adults alike.


We had a great weekend helping people experience what it might be like to be a chicken.

Want to keep updated on Chicken VR?  Leave your email address here. You can also "like" BPC Maker Club on Instagram and Twitter (@bpcmakerclub) and Facebook (@3dPrintinginK12). We tend to share in bursts, like on summer vacation when there is time to catch up with posts. :)


Tuesday, February 20, 2018

Metal Etching Using Saltwater

I saw this YouTube video yesterday and decided to try this--a process to engrave in almost any type of metal using salt, vinegar/water, and electricity. It takes some experimenting to get right, and you have to use the right kind of battery, but otherwise it works pretty well.

We learned in our first attempt that it won't work on lids for mason jars, because the surface isn't conductive. You'll want to test for conductivity on your material before you try to do anything. We were initially misled, because it "worked" the first time. In reality, water had leaked under our stencil, completing the circuit. Once we made a tighter seal (by using sticker paper for our stencil), it was no longer conducting anything and no longer worked.

Eventually, I successfully engraved in a sheet of stainless steel using a 12v battery.

First, you need to prepare the metal surface. Clean it using rubbing alcohol (91%). (As mentioned, the lid in the picture won't work, but it does illustrate the cleaning step.)


Soak some Q-Tips in a mix of vinegar and salt. You can also use water with just salt but it won't be as strong. The amounts don't matter but you can watch the video (1:28) to get an idea.


You need a power source. We tried using a bunch of 9v batteries but found that this lead-acid 12v battery worked better.


I laser cut a name tag onto transparency paper with a stencil font and stuck it on with some blue tape to prevent the liquid from leaking around the stencil, but you can also use sticky stencils or something else. The video also shows how to use stickers and nail polish to make more complex shapes.


Connect one end of the battery or power source to the metal and one end to the end of the Q-Tip, making sure the alligator clip on the Q-Tip won't touch the metal surface.


Put the Q-Tip on the metal in one spot for around five seconds and then move it to the next spot. It makes a bubbling sound and some smoke. I wiped any liquid off of the surface after each letter.


Here's the result after cleaning:


Also, that YouTube channel is great for other DIY projects and car work.

Sunday, November 5, 2017

The Forgotten Dream: Our Glowforge Arrives! (PART 1)

Back in October 2015, we pre-ordered the Glowforge. We, and other Glowforge potential owners repeatedly received delay-of-shipment emails, to the point where many people began to jump ship.

The space had been taped off for so long and it had become a joke. Someone wrote "The forgotten dream," back in 2016, and earlier this year, someone else added "We will love love u and cherish u what scared u away?" We still don't know who wrote these messages.


And then, we received "the" email.

Thursday, October 19th


On Friday, November 3, the box arrived. (Teacher's note: Friday was parent-teacher conferences, so there weren't any kids to freak out with. I sent them an email, but it wasn't quite the same.")


Sunday, November 5, we assembled for the unboxing.

We made the same mistake we make every time we open a box with something expensive in it: we cut the tape and then realized we had opened it wrong. We carefully turned it on its side and took the laser cutter out. Looking at the unboxing guide, with the link conveniently located inside the box, we found that we shouldn't have even cut that tape.

Once we got everything out of the box, we removed the protective foam and assembled the "print head."

We cut out some cardboard to seal the window we were venting the exhaust through, and set up a table near the window. Then we plugged it in and turned on the machine. It worked as expected, making some bubbling noises from the water-cooling system. The setup process was super simple and only required us to connect it to the school's WiFi before we could start making things from their web based software (that can run on a Chromebook!).


Someone drew a simple not-so-accurate square on a piece of paper and placed it in the machine so that we could scan it. We scanned it and then put some acrylic in the machine. When we went to cut, we ran into a problem.

Here's the thing: the Glowforge was so popular because of how easy it is to use. In order to make it this simple, they made their own material presets. These material presets are only for their "proofgrade materials," which means we can't cut with our own materials. They do have a way that you can set it yourself, but the controls are very ambiguous and you can't save presets. We also didn't have our introductory proofgrade material kit, it came the day after.

So, we estimated, choose only to engrave, and ended up with this >>>


Tuesday, July 18, 2017

3D printed flexible filament robot hand

Each month, we are excited to see what new filament comes in our Maker Box. This month, we received some NinjaTek Cheetah flexible filament, which is pretty exciting.

Next, we had to decide what to print with it! Lat time we got a sample of flexible filament, we re-printed the rubber feet of the 3D printers that somehow always seem to get lost in a middle school classroom....

Since we were experimenting, we went on Thingiverse to find something cool. We downloaded the file Miniature Robotic Hand for NinjaFlex by Open Bionics - it prints in one piece!

As you can see in the video below, the final product is pretty cool!


Of course, what's the next step?  Print a BIGGER one. This print used the same type of filament, but was significantly bigger.


We learned something surprising!  When it is this big, it is too floppy to function in the same way, so the final product was rather dull.


Thursday, July 6, 2017

Ultimaker 2 Go Disassembly and Reconstruction

Back in April, our Ultimaker 2 Go stopped extruding.  This is not unusual.  The standard procedure is to take a look at the extruder and maybe unload and reload the filament, checking for errors. Unfortunately, one of our students decided it would be a good idea to take the entire 3d printer apart. The student took apart the entire extruder and, in the process, broke the temperature sensor and the heater cartage.

the broken temperature sensor and the heater cartage
The Broken Temperature Sensor and the Heater Cartage

Despite our teacher's constant reminders to document, there was no documentation, except photos that were lost (the photos in this post were taken after the disassembly).  After disassembly, what used to be a 3d printer extruder looked like this: 

disassembled extruder
Disassembled Extruder

So, we were left to reassemble a broken 3D printer with very little documentation and no recollection of "what happened."  The Ultimakers came with an extra "Hot End Pack," which includes a temperature sensor, a nozzle block, and various other extruder related parts.  At first, we thought this would solve the problem. But ends up the pack did not come with a heater cartridge, so we were stuck. The Dynamism site (where we first ordered the printer) sold only a few, more consumable, parts--and not the parts that students might destroy. 

Luckily, Ultimaker support eventually clued us in to the fbrc8 Ultimaker warranty site. This was VERY helpful! We found a heater cartridge and ordered one.  

Back in the classroom, we replaced the broken temperature sensor with the one from the "Hot end pack" and the heater cartridge from the fbrc8 warranty site using this fbrc8 resource: Changing Heater Cartridge And Temp Sensor (2GO).  We had to open the bottom of the Ultimaker to plug the heater cartridge back in. It was good practice in reading the instructions very carefully!


Finally, for reassembly, we followed the Changing Parts In The Print Head steps for disassembly and reassembly, even though most of our parts were already... ahem... disassembled. We also used the instructions: hot end assembly | hot end disassembly

Eventually we reassembled everything and were proud of our efforts when it printed flawlessly once again!


- Reuben (8th grade)