Thursday, October 30, 2014

Halloween Making (a Mess!)

After a busy season of preparing for outreach events (Solano Stroll, East Bay Mini-Maker Faire, Bay Area Science Festival ), our recent Maker Club meeting involved a  kid-tested Halloween maker activity: carving pumpkins. This maker approach to pumpkin carving involves LEDs, a Dremel tool, alligator clips, toothpicks, twine, cardboard, duct tape, and lots of mess. (Actually, the last one might be a middle school pumpkin carving thing, not a maker thing.) To minimize mess, our teacher made us work in big plastic bins.


We carved a hand shape into one pumpkin. Lots of wires later, inserting your hand into the carved spot caused the LEDs to light up.The pumpkin artists wanted to display the pumpkin at our school halloween fair.

However, when the pumpkin dried out, it ceased to be conductive. Although it was raining on Halloween, because the pumpkin was closed, the inside stayed dry.

So, we sprayed it with a spray bottle. Which meant our pumpkin artists were standing in the rain, spraying an LED covered pumpkin with a spray bottle. I really wish we had a picture, because it was awesome.


The second pumpkin team was trying to see what they could do with LEDs and a pumpkin.  They quickly sawed it in half and hooked up batteries and foil.  Knowing that it was conductive, they wanted to add a layer of insulating cardboard.  After adding batteries and LEDs and cardboard, there remained the daunting task of stitching the pumpkin together. I'm not sure exactly how this happened, but it involved twine and skewers.  But the resulting effect was kind of cool.


-Jane (8th Grade)

Thursday, October 23, 2014

Fixing the 3D Doodler

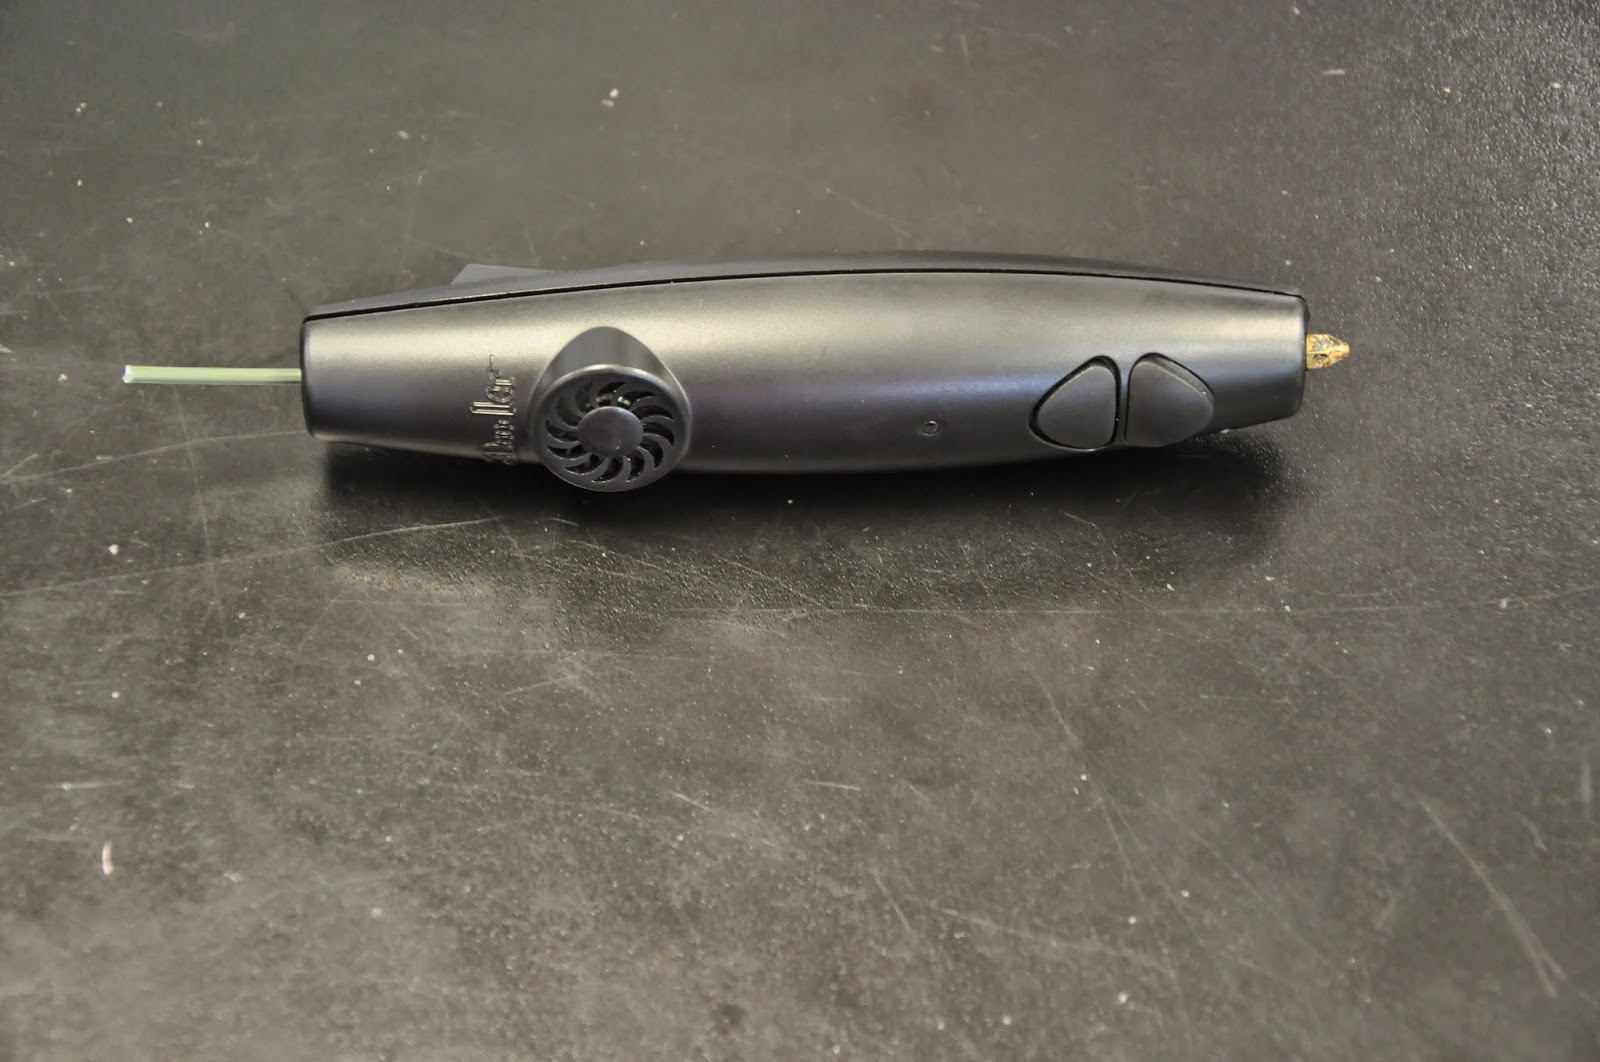
Ever since we got it a year ago, we have been fighting with our 3Doodler, a glue-gun like pen that allows you to "draw" in 3D by extruding plastic like a 3D printer does. To be fair, most of our problems stem from our use of a cheaper filament instead of buying it from WobbleWorks, the makers of the 3Doodler.  We are a maker club though. What do they expect? After all, our unofficial motto is "It still works..." (said in an indignant tone of voice).

[Teacher note: Or, maybe it's always broken because they are energetic middle school kids...]

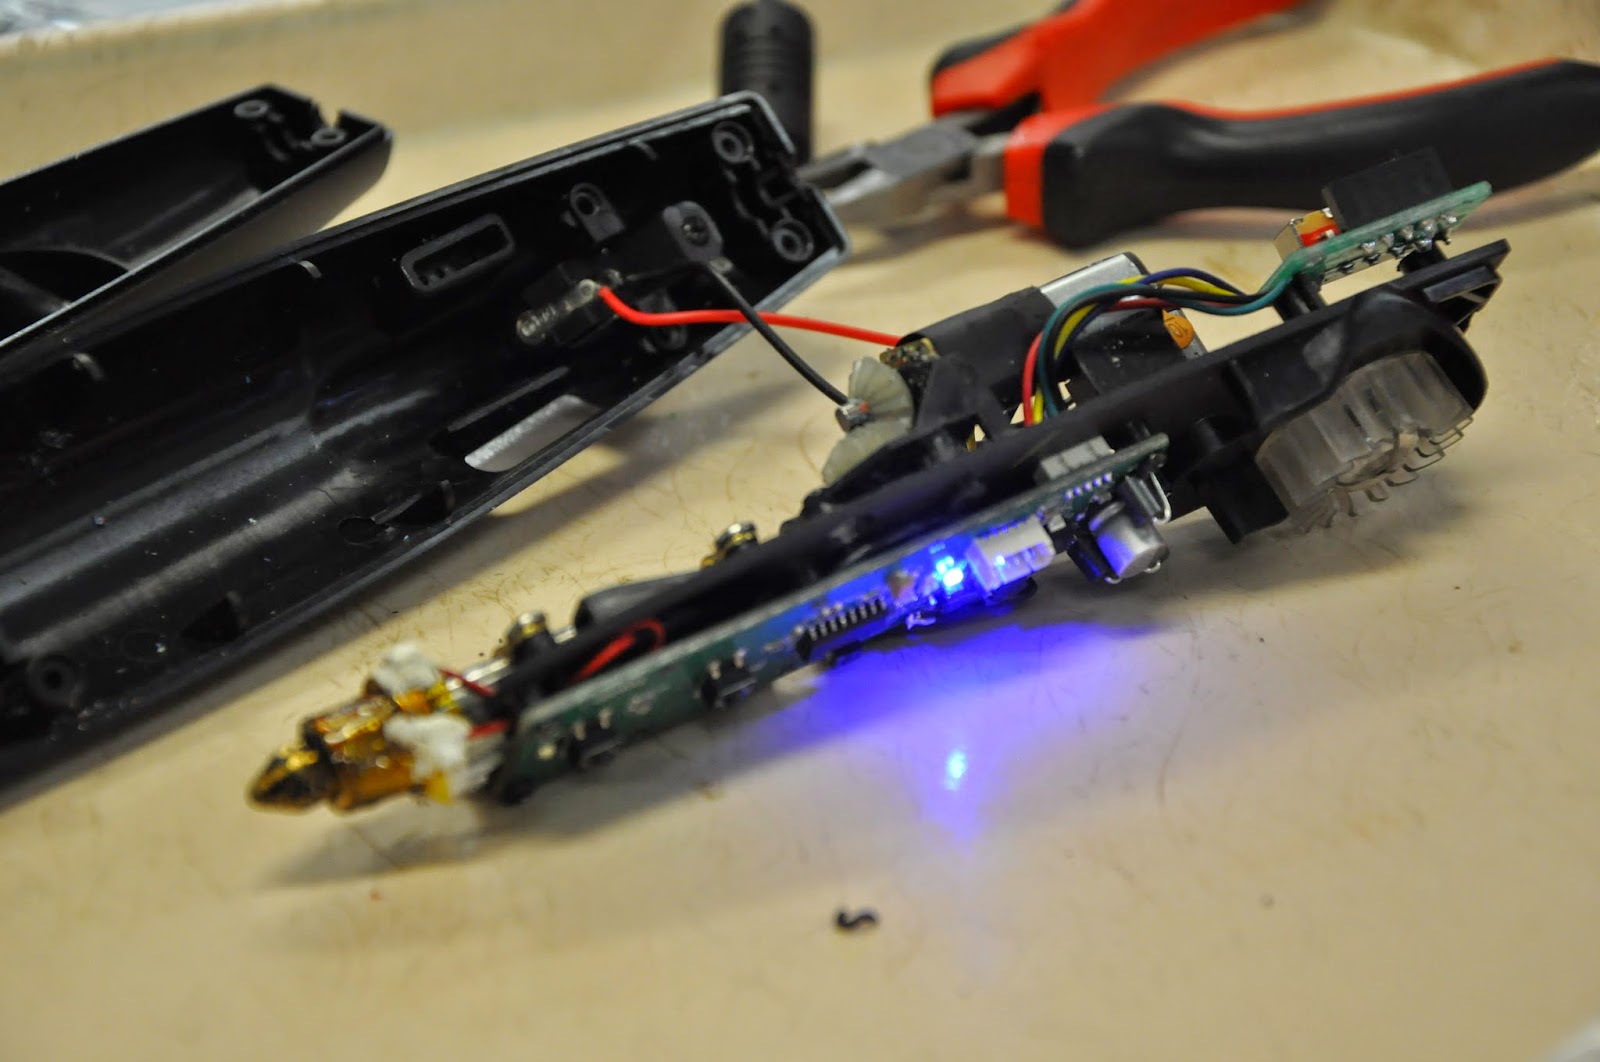
Going back to the original point, we tried many tricks to try to fix our 3Doodler. They ranged from shoving a poke-thing up it, to holding it upside down and saying an incantation (it did improve the situation) and were affectionately termed juju-magic.

Then, while in desperation at the East Bay Mini Maker Fair I tried switching to using positive reinforcement while talking to the 3Doodler, I learned that earlier my friend had taken it apart as a project to try and fix it (see pics below).  He told me that when our filament, curved from the spools it comes on, was shoved in our 3Doodler (it wasn't my fault...) it over time bent the internal tubing.


Because of this our filament was catching as it went in, frequently jamming. We had the idea of bending the filament to straighten it, thus decreasing the chance of it catching on the bent inside of the tube. With this small modification, and despite the bent inside of the tube, our 3Doodler runs perfectly.

Now the moral of this is either just pay the money and it will work, take apart your expensive stuff, communication is key, or always tweak. I personally prefer the last one and I know many of my fellow BPC makers prefer the second, but for some reason a few of my fellow students prefer the third.

- Daniel, 8th grade


Tuesday, October 21, 2014

Our First Two-Tone Print!

There's an old English proverb that says, "Necessity is the mother of invention."  In our classroom, we have been printing most things with a single color for simplicity.  Though we recognize the potential in a mid-print filament switch, we also realize the potential for things to go wrong during the transition. However, once one student began a lovely pumpkin print, someone later pointed out that we were going to run out of filament.  After our previous mid-print, filament-exchange experiments, we've sort of avoided the whole process.

Surprisingly, the filament-changing process was smooth and simple.  Once we paused the print, the Makerbot screen walked us though the process. Once un-paused, the print continued as it nothing had happened! The most interesting part was that, when paused, we got a message while the code wrapped up a few layers, getting to a good stopping point. Smart.

A quick Google search of "switch filament mid-print" will uncover many people who use this technique successfully to acheive some pretty cool results.   Interestingly enough, we've read that "MakerBot has invented a new type of process which, if it works properly, will allow 3D printers to change build material mid print.  They have filed a patent to protect this solution over a year and a half ago, but just recently was it published for the public to see."

Another tool in our toolbox! :)


Monday, October 20, 2014

Introducing our Othermill

After our experiences with 3D printing, we have been looking forward to venturing into the long-established world of subtractive manufacturing.  The Othermill is a new tool in our classroom.

The kids will write more about how they use it soon, but one of the first lessons we learned?  It is FAR louder than the 3D printers. :)  The 3D printers basically run all day in my science room.  This one is a little harder to ignore.


Sunday, October 19, 2014

BPC Maker Club at the 2014 East Bay Mini-Maker Faire

This post is in progress, but here is a blurb from one of the kids... 

On October 19th, the BPC Maker Club went to the East Bay Mini Maker Faire to explain what we tinker with in Maker Club in addition to how we learn in science.  At our tables we introduced people our 3D printers, 3D scanned our visitors, and helped people make their own 3D drawings using our 3Doodler.  We were in an out-of-the-way place, so at first traffic was slow, but after word started to spread, our room was packed!  Younger children especially enjoyed using the 3Doodler as they were able to draw their own 3D printed design.  When they learned that they could lift the pen off the page and draw on the air, their faces would light up with excitement. We then explained to interested people how we were able to 3D print data, enlarged over two hundred times its actual size, to create models that we can use during science class in order to better understand visually how the science worked.  These different parts of our booth reflected the Maker Faire's slogan, "The Greatest Show (and Tell) on Earth," by both helping people have a great time as well as learn about an ever-expanding and fascinating new field. (Daniel, 8th grade)


This 7 second clip represents about 2.5 hours of our day at the Faire. Created using Framelapse on an LG G3 taped to the wall.


More pictures from the event:


Saturday, October 18, 2014

Tales of a 3D Printer Shout-Out! :)

So, I needed a link from our blog earlier today. When I googled it,  I was surprised to see this post appear in my search results.


Apparently, a blogger named Karie Huttner wrote a post about 3D Printing on discoveryeducation.com and had these three good lessons to share:

Lesson 1 – Consume to Create
Lesson 2 – Connect with your Community
Lesson 3 – Resources

Under resources, she writes, "You aren’t the first one to go down this path.  Tapping into resources like the Invent to Learn website resources will help immensely.  Connect with other educators.  Follow blogs like MakerHome and Tales of a 3D Printer… you just never know what you will learn."

Sweet! We're a resource!

Monday, October 6, 2014

Finding our (Work)Flow

One of the things we constantly struggle with is prioritizing time on the printer. The kids are always in the room at recess, lunch, passing periods, even occasional weekends... trying to get prints started. We've tried (1) first-come-first-served, (2) Google Doc sign ups, (3) Hunger-Games-style (last kid standing uses the printer), (4) dry erase board sign up.... but nothing has stuck yet.  

Below is our newest attempt at managing the workflow on the printers. The idea is that when the printer is idle (which is getting rarer and rarer these days), the kids and/or I can grab a sheet and run a few prints. 

Does anyone have advice on a good system that works?