
So, today (yes, Saturday), we were printing some sort of helmet for a kid's project. We were successful in
converting the file from SketchUp to stl and printed a small one (using our first "support material") to test the design. We then scaled the item up, set it to a 40% fill, and let it run. The print was scheduled to take 13 hours. (sigh) No problem, I have papers to grade. The students went home about 2 hours into the print, and I stayed and worked. About 5.5 hours into the print, my ears picked up a change in the rhythm of the printer (which is rather soothing, btw). Upon investigation, it ends up the plastic was no longer coming out of the extruder, even though the build was still in progress. Puzzled, I looked at the gcode, and checked the nozzles.... and finally discovered that the filament had come off its spindle, wrapped around the axle, and basically, strangled it to a complete stop. When I pulled it loose, it looked something like this:

Maybe it has something to do with the shoddy tube clamps on the back of my machine (pictured below). The day our Makerbot arrived, the clamps on the lefthand side (in pic) were snapped. The kids claim it "came that way." I am not sure the kids didn't make it that way in their enthusiastic unpacking. In any case, it has been an adventure, as the left pictured tube (for right extruder) often slips and the filament gets pinched. To date, our best solution has been this rubber band set-up. However, it is clear that it is not suitable for a 13 hour print job, and needs more frequent monitoring.
I removed the filament, reloaded the spindle and was set to try again. All 13 hours of it. But the filament wouldn't extrude. Additional investigation made it clear there was likely a bit of broken filament jamming the opening to the nozzle.
Egads! I am not a tinkerer by nature, and I was rather terrified to disassemble my $2000 machine.... I debated waiting until Monday and asking one of my students to do it (they are fearless), but I decided I'd have to learn sometime.
I will have to admit, however, that it was rather satisfying to find and remove that stubborn little piece of broken filament!
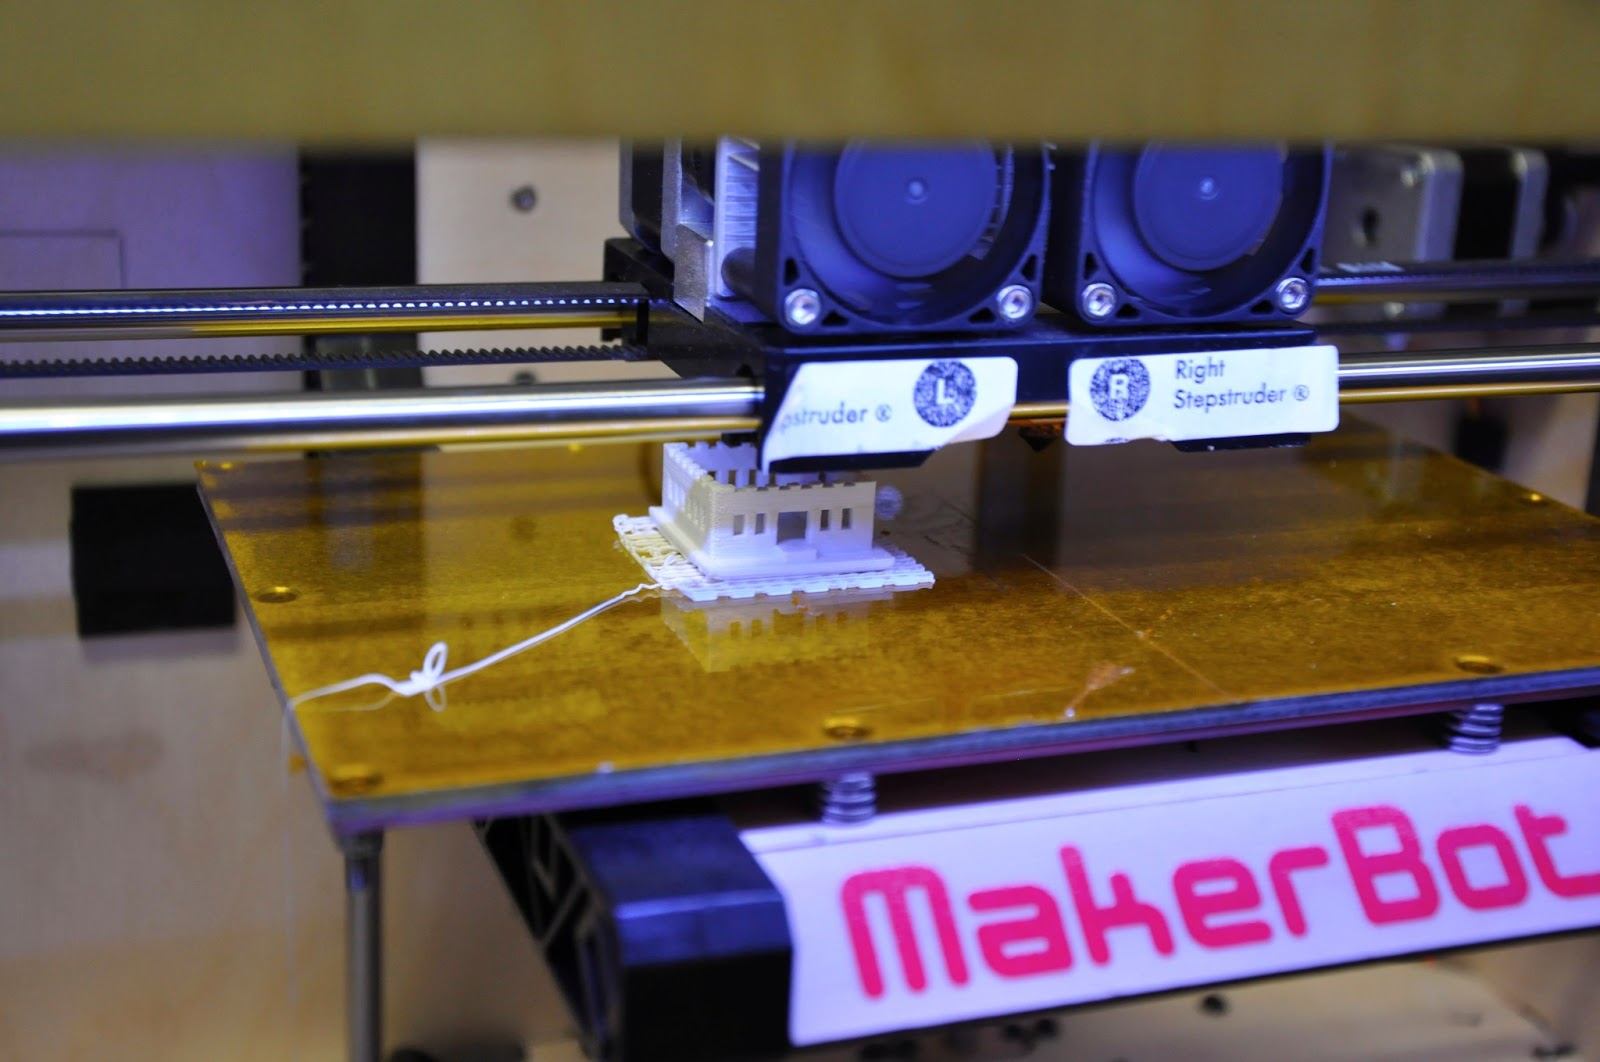
Afterwards, I printed a nice, 5 min guitar pick (
from Thingiverse) just to see that it was all working once again. Phew, first crisis averted.


 So, today (yes, Saturday), we were printing some sort of helmet for a kid's project. We were successful in converting the file from SketchUp to stl and printed a small one (using our first "support material") to test the design. We then scaled the item up, set it to a 40% fill, and let it run. The print was scheduled to take 13 hours. (sigh) No problem, I have papers to grade. The students went home about 2 hours into the print, and I stayed and worked. About 5.5 hours into the print, my ears picked up a change in the rhythm of the printer (which is rather soothing, btw). Upon investigation, it ends up the plastic was no longer coming out of the extruder, even though the build was still in progress. Puzzled, I looked at the gcode, and checked the nozzles.... and finally discovered that the filament had come off its spindle, wrapped around the axle, and basically, strangled it to a complete stop. When I pulled it loose, it looked something like this:


 However, when I downloaded the Sketchup to DXF or STL plugin - skp_to_dxf.rb ( Sketchup versions 6, 7 or 8) and dropped it in the sketchup plugins folder ( /Library/Application Support/Google SketchUp [VERSION]/SketchUp/Plugins) then restarted SketchUp, this plugin worked fine.


 (2) Removing the support material:
