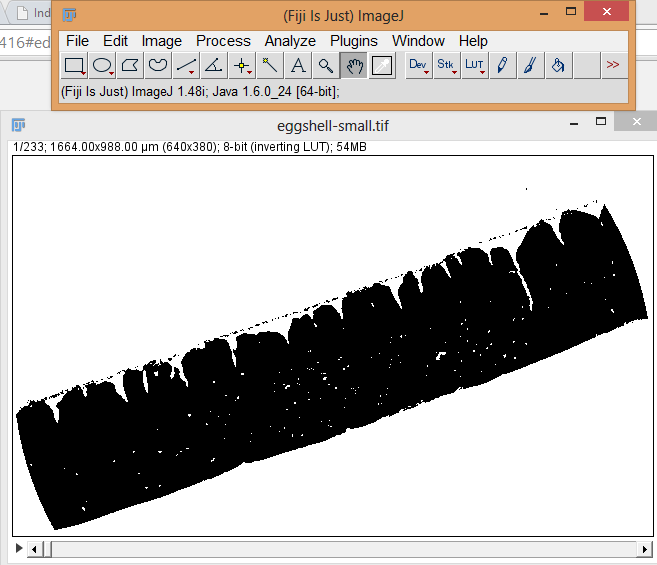
Here are the steps we took:
 1.You start out by going to FILE >> OPEN. and opening the tiff stack.
2. Then you create a binary from the tiff stack by going to PROCESS >> BINARY >> MAKE BINARY
It turns into this
3. If your model has holes in it that you want to fill you can go to PROCESS >> BINARY >> FILL HOLES. If your model still has holes then repeat step 3.

4. If you want to make your file smaller then go to PROCESS >> BINARY >> DILATE it will condense 4 pixels to 1 pixels. If you want it super small keep repeating step 4.
5. If their are stray pixels then go to PROCESS >> BINARY >> ERODE. If there are still pixels repeat step 5.


6. Once you complete steps 3-5 you go to PLUGINS >> 3D VIEWER. Don't worry if your computer freezes; this is a complicated process. A new window should come up.

7. To create the 3D surface you go to EDIT on the new window >> DISPLAY >> SURFACE Don't worry if your computer freezes; this is a complicated process. You should now have a 3D model!

8. To export you go to FILE >> EXPORT SURFACES >> STL(BINARYorASCII)
That is how you take an TIFF stack and covert it to an STL. I took the STL file and put into the Cube software but you can do what ever you want. NOTE: MOST PRINTERS CAN ONLY HANDLE FILES LESS THAN 50 MB. (If your file is too big, you can simplify / decimate it in MeshLab.)
Finally, here is a print of our first converted data (below): half of a bean that was previously home to a Bean weevil (Callosobruchus maculatus). That's actual data! Though this is not a picture of the exact bean we scanned, the image to the right will give you an idea of what the original looked like. (We are claiming Fair Use on the use of this image!) We are excited to print more, including the eggshell described above.
 |
| (screenshot of reconstructed data from a different, not open-source software) |


great post!
ReplyDeleteI helped me a lot. I had to work with similar data. and you explained each step so well.
thank you.
Elmar
This post helped me a lot too. Thanks! :D
ReplyDeleteAmazing! Thanks a lot
ReplyDeleteThanks...
ReplyDeleteYour post is so helpful.
aAB