 |
| The Broken Temperature Sensor and the Heater Cartage |
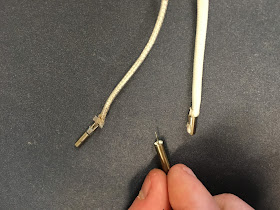
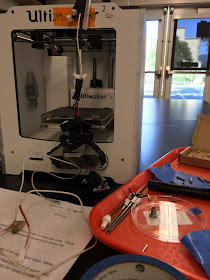
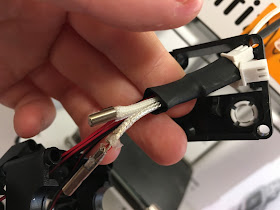
Despite our teacher's constant reminders to document, there was no documentation, except photos that were lost (the photos in this post were taken after the disassembly). After disassembly, what used to be a 3d printer extruder looked like this:
 |
| Disassembled Extruder |
Luckily, Ultimaker support eventually clued us in to the fbrc8 Ultimaker warranty site. This was VERY helpful! We found a heater cartridge and ordered one.
Back in the classroom, we replaced the broken temperature sensor with the one from the "Hot end pack" and the heater cartridge from the fbrc8 warranty site using this fbrc8 resource: Changing Heater Cartridge And Temp Sensor (2GO). We had to open the bottom of the Ultimaker to plug the heater cartridge back in. It was good practice in reading the instructions very carefully!
Finally, for reassembly, we followed the Changing Parts In The Print Head steps for disassembly and reassembly, even though most of our parts were already... ahem... disassembled. We also used the instructions: hot end assembly | hot end disassembly
Eventually we reassembled everything and were proud of our efforts when it printed flawlessly once again!
Eventually we reassembled everything and were proud of our efforts when it printed flawlessly once again!


No comments:
Post a Comment